

Ever wanted a todo list that's simple, easy, and integrated into your favorite messaging service? Well, today, we're building one!
Today, we'll be creating a Slack bot that maintains a todo list using Bolt.js and Node.js
Here's the final code. A live demo is available as "@Todo Bot" on the Hack Club Slack.
If you get stuck anywhere in this workshop, feel free to ask me questions! I'm @KhushrajRathod.
Part 1: Preparing your environment
Part 1.1: Preparing repl.it
Today we'll be using repl.it. Repl.it is an online code editor that we can use so we don't have to download a lot of stuff or resort to Notepad/TextEdit. Think of it as Google Docs, but for code (and also much more fun :D).
Follow these steps:
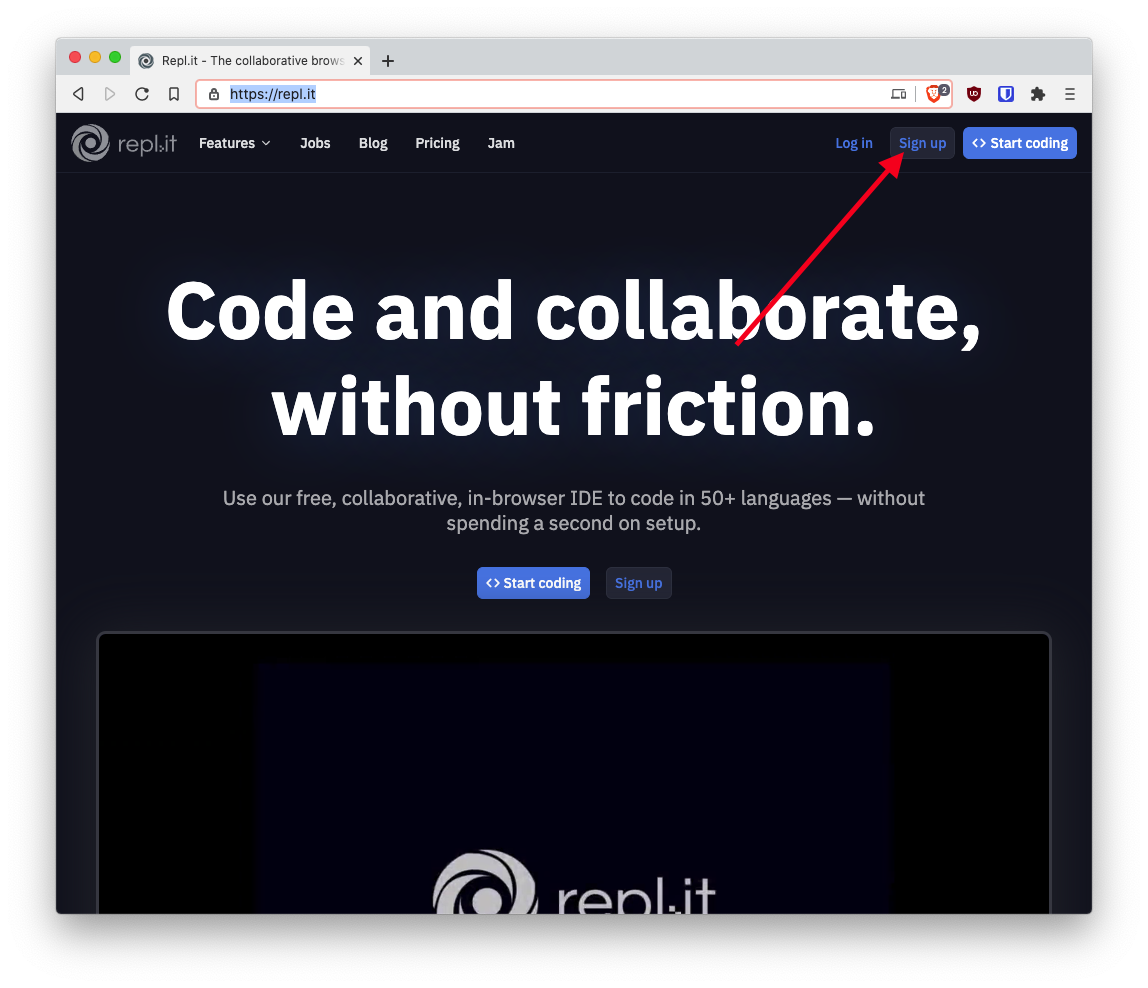
- Open https://repl.it/
- Click "Sign up"
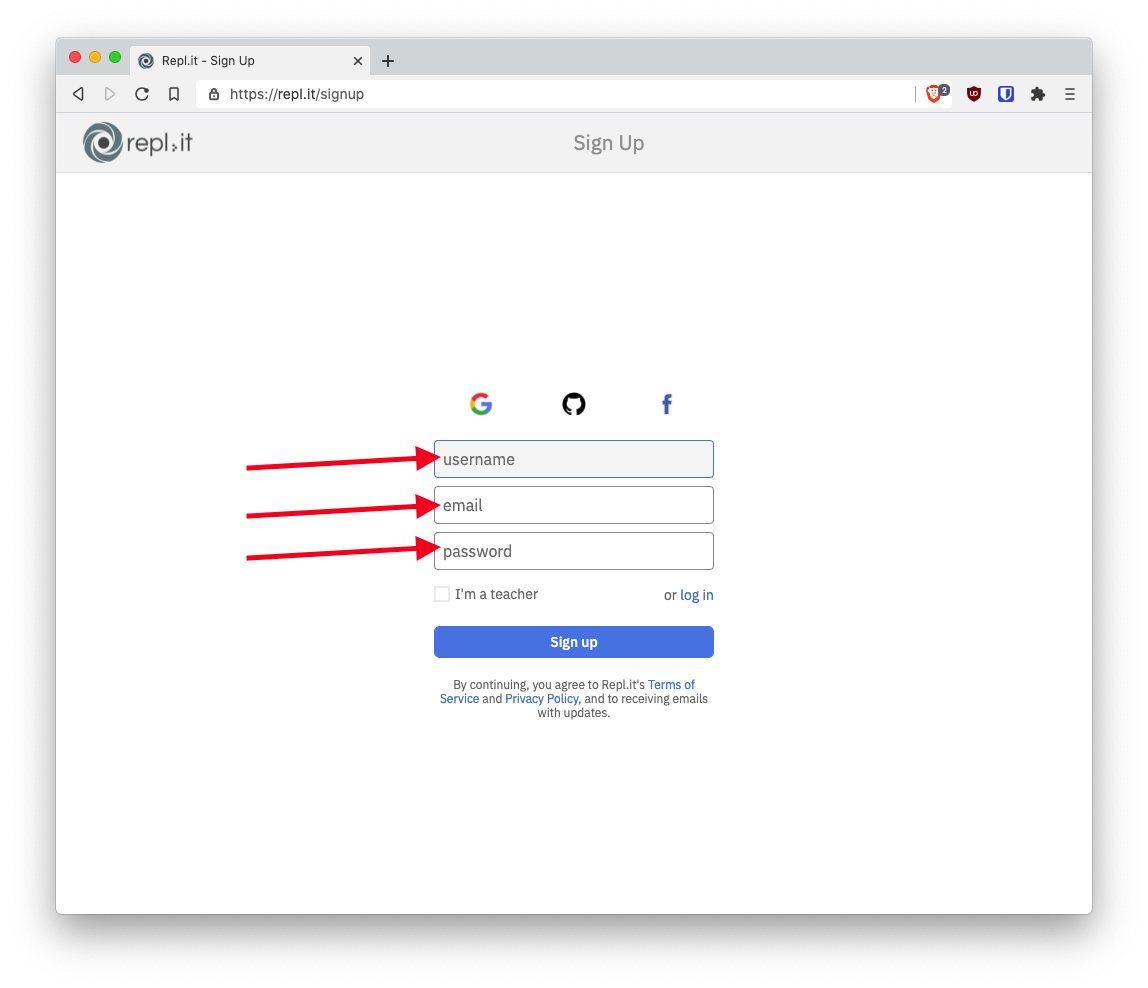
- Fill in some details
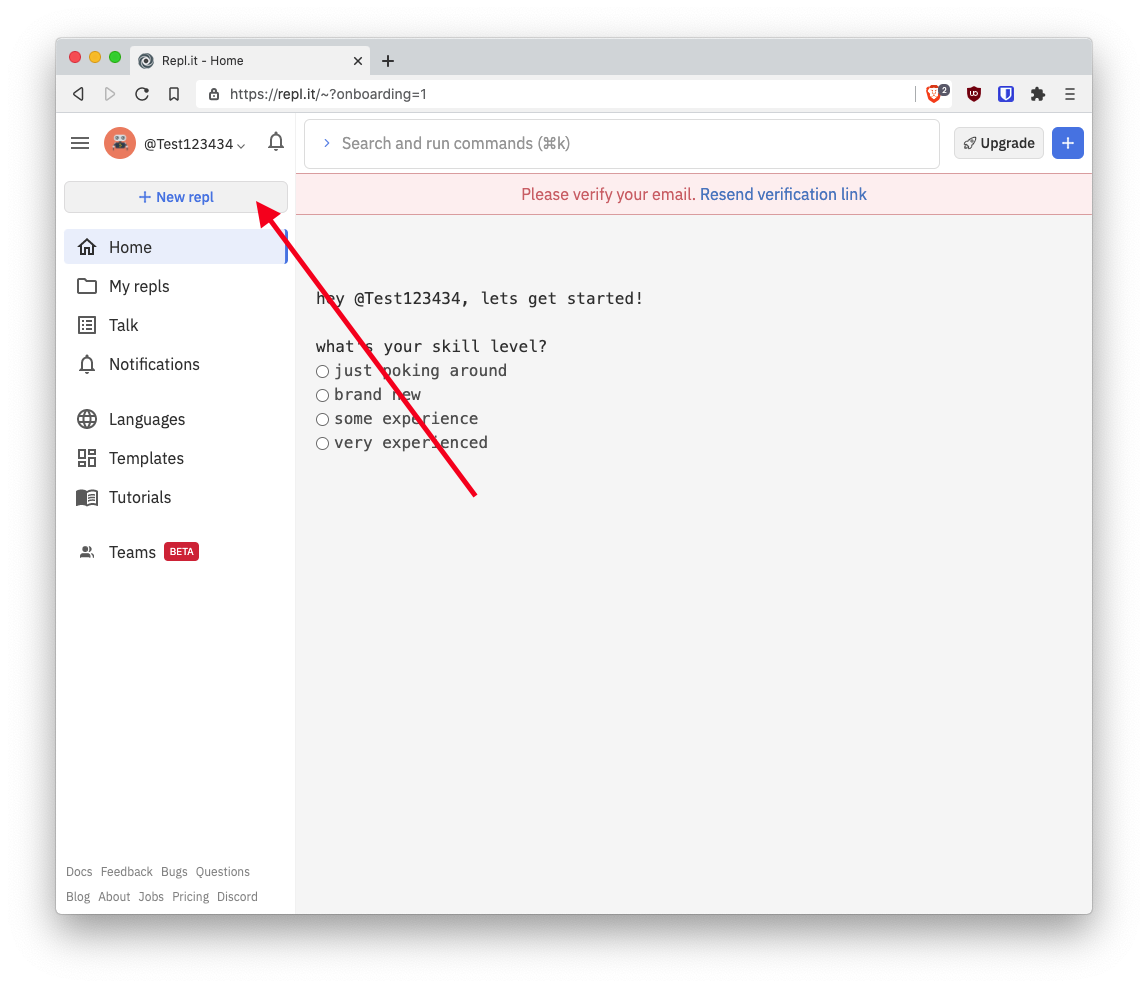
- You now have a Repl.it account! Next, click "New repl"
- Search for "Node.js" in the search box, click "Node.js" and click "Create repl".
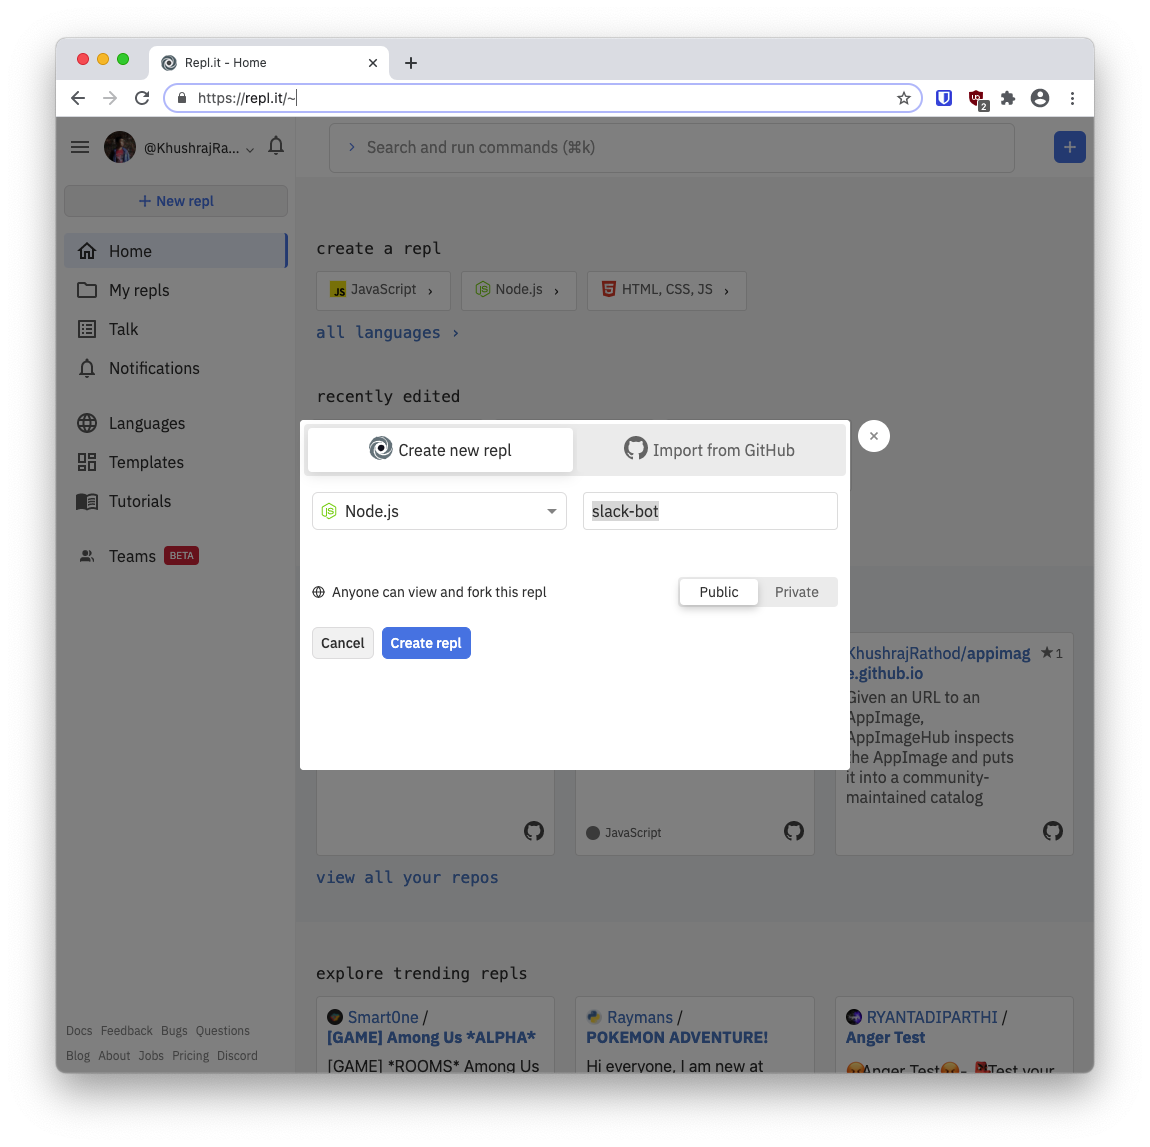
- You now have a Node.js repl setup successfully

Repl.it basics
- To add a file, click "Add file" in the top left and give it a name
- To write code, simply start typing in the code editor in the center of the screen
- To run code, click Run and refresh your page preview
- To format your code, click "auto-format" in the top-center of the screen
- To reload your page preview, click "Refresh" in the top-center of the screen
Part 1.2: Getting Slack tokens
-
First, go to Slack's sign in page and sign in to your workspace. If you don't have an existing workspace to use, you can simply create a new one here
-
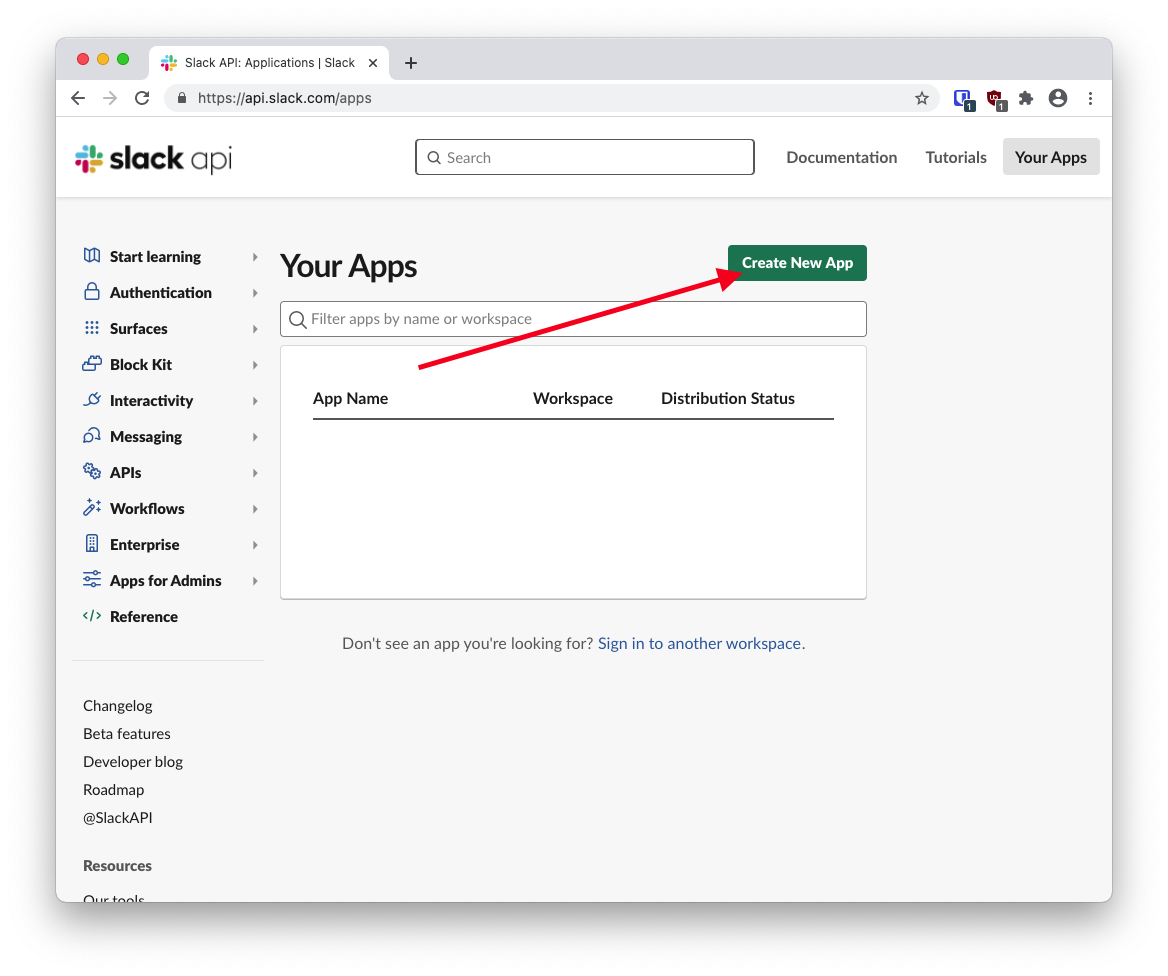
Next, go to https://api.slack.com/apps and create a new app.
- Give your app a name, select your workspace, and click "Create App".

- Inside Basic Information, go to "Add features and functionality" and click "Slash Commands"
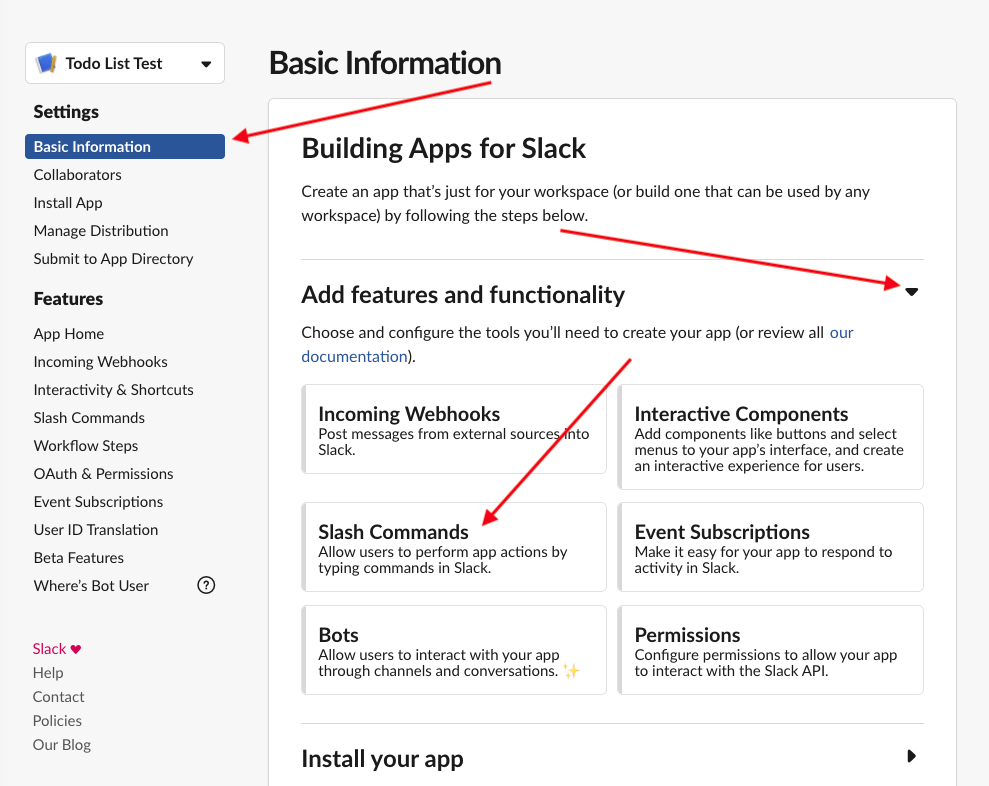
- Click "Create new command" and fill in the details for your command:
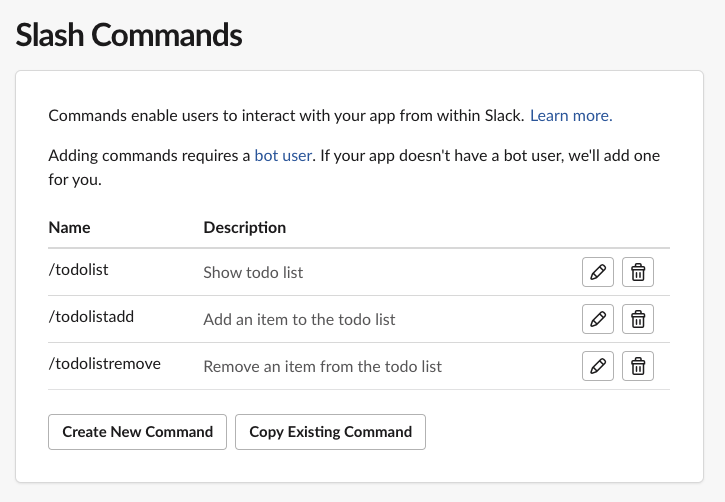
- Command: /todolist (Note: If you're using the hackclub workspace, you'll need to use a different name for your command, such as /yournametodolist)
- Request URL: https://yourappname.yourusername.repl.co/slack/events where
yourappnameis your repl's name andyourusernameis your repl.it username. For e.x., my repl's name is TodoSlackApp and my repl.it username is KhushrajRathod, so my request URL is https://TodoSlackApp.KhushrajRathod.repl.co/slack/events - Short Description: Show your todo list

- Click save.
Challenge
Create two more commands, /todolistadd and /todolistremove. Use the same request URL, you may add a description and usage hint as you please.
- This is how your Slack API page should look now
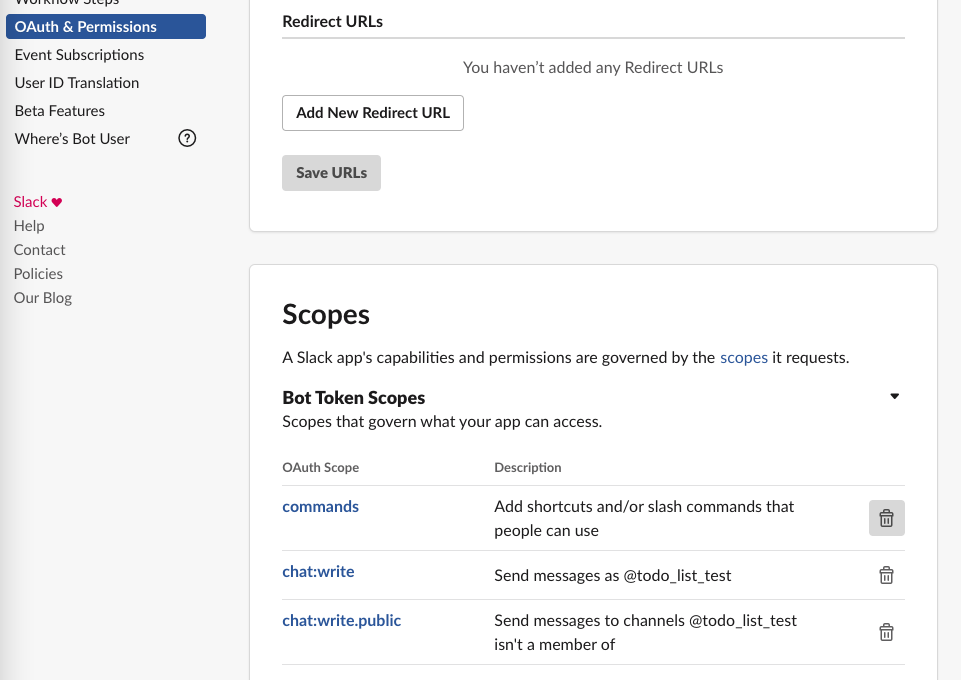
- Now, go to "OAuth & Permissions" in the sidebar, scroll down to "Scopes" and add chat:write and chat:write.public as Bot Token Scopes
-
Scroll back to the top of "OAuth & Permissions" and click "Add to Workspace". Slack will ask you to authenticate with your workspace, once you're done with that you should be able to see a Bot User OAuth Access Token, copy that -- we'll need this later.
-
Next, go back to "Basic Information" in the sidebar, scroll down to "App Credentials" and click "Show" next to Signing Secret. Copy the signing secret too -- we'll need this later.
We've finished setting up the Slack API side of our app!

Part 2: Programming the bot backend
Head back to repl.it and open your Repl so we can get started! First, create a new file named ".env" (without quotes). This file will contain your signing secret and bot token, as .env is not visible to people viewing / forking your repl.
Inside .env, define your variables as follows (replace yourbottoken and yoursigningsecret with the tokens you copied above):
SLACK_BOT_TOKEN=yourbottoken
SLACK_SIGNING_SECRET=yoursigningsecret
This file will automatically be injected by repl.it into process.env in Node.js. Open the index.js file, and add the following:
const { App } = require('@slack/bolt')

const app = new App({
    signingSecret: process.env.SLACK_SIGNING_SECRET,
    token: process.env.SLACK_BOT_TOKEN,
})

;(async () => {
    await app.start(process.env.PORT || 3000)

    app.command('/todolist', async ({ command, ack, say }) => {
        await ack()
        await say(`Hello!`)
    })

    console.log('⚡️ Server ready')
})()
Explanation:
-
First, we're importing Slack's Bolt library for Node.js, and using it to create a new instance of
App. -
Next, we're starting the app and listening for the
/todolistcommand. -
When someone calls
/todolist, we want to- Acknowledge that command (Slack requires you to acknowledge all requests - otherwise it displays a "Timed out" error to the user)
- Reply with "Hello!"
Run your Repl, and open a channel in your Slack workspace. Try running /todolist -- You should see "Hello!" as a response from the bot.
Challenge
Create similar commands for /todolistadd and /todolistremove - They just need to make the bot reply with "Hello!".
Here's how your code should look now:
const { App } = require('@slack/bolt')

const app = new App({
    signingSecret: process.env.SLACK_SIGNING_SECRET,
    token: process.env.SLACK_BOT_TOKEN,
})

;(async () => {
    await app.start(process.env.PORT || 3000)

    app.command('/todolist', async ({ command, ack, say }) => {
        await ack()
        await say(`Hello!`)
    })

    app.command('/todolistadd', async ({ command, ack, say }) => {
        await ack()
        await say(`Hello!`)
    })

    app.command('/todolistremove', async ({ command, ack, say }) => {
        await ack()
        await say(`Hello!`)
    })

    console.log('⚡️ Server ready')
})()
To store users' todo lists, we'll be using the repl.it database. Repl.it provides a handy client for the database to use with Node.js.
- First, import the library and create a client (at the very top of your file)
const Client = require("@replit/database")
const database = new Client()
Repl.it's database is a key-value database. For us, we'll set the keys as the users' ids and the values as arrays containing their todo lists.
user1 = [Todo1, Todo2, Todo3, Todo4...]
user2 = [Todo1, Todo2...]
user3 = [Todo1...]
// and so on
Every time a user requests their todo list, we'll get their value from the database, parse it to store as an array, and display the array formatted nicely. For updating, we'll follow the same procedure, except instead of displaying the array, we'll make the changes, convert back to a string and set it in the database.
- Now, for the
/todolistcommand we want to get the user's array and display it.
app.command('/todolist', async ({ command, ack, say }) => {
    await ack()

    let currentUserTodo = JSON.parse(await database.get(command.user_id)) || [] // Get the user's array, and if the user has never used this todo list before, use an empty array

    // Nicely format the array as a list with numbers
    let response = ""
    currentUserTodo.forEach((todo, index) => {
        response += `\n${index + 1}. ${todo}`
    })

    // If the user has items in the todo list, respond with it. Otherwise, send a message stating the list is empty
    if (response) {
        await say("Your todo list:" + response)
    } else {
        await say(`Your todo list is currently empty!`)
    }
})
- Next, for the
/todolistaddcommand, we want to get the user's array, add the item to the list, and set the array in the database.
app.command('/todolistadd', async ({ command, ack, say }) => {
    await ack()
    let currentUserTodo = JSON.parse(await database.get(command.user_id)) || [] // Same as previous command, get the array, if it doesn't exist, use an empty one
    currentUserTodo.push(command.text) // Add the new item to the array
    await database.set(command.user_id, JSON.stringify(currentUserTodo)) // Set the array in the database
    await say(`Added\n• ${command.text}\n to your todo list`) // Confirm adding the item to the user
})
- For the
/todolistremovecommand, we want to remove the item from the array and then set it in the database.
app.command('/todolistremove', async ({ command, ack, say }) => {
    await ack()
    let currentUserTodo = JSON.parse(await database.get(command.user_id)) || [] // Same as previous command
    let removed = currentUserTodo[command.text - 1] // Store the value that will be removed so we can show "Removed xxxxxxxx from your todo list" later
    currentUserTodo.splice(command.text - 1, 1) // Splice the array and remove the item at the provided item number from todo list
    await database.set(command.user_id, JSON.stringify(currentUserTodo)) // Set the array in the database
    await say(`Removed\n• ${removed}\n from your todo list`)
})
We're done setting up the bot! Run the repl and go to your Slack workspace, you should be able to run /todolist, /todolistadd and /todolistremove!
Setting up uptimerobot
At the moment, your bot will go offline after an hour due to your repl going to sleep. Uptimerobot will send a HTTP request every 5 minutes to keep your repl alive.
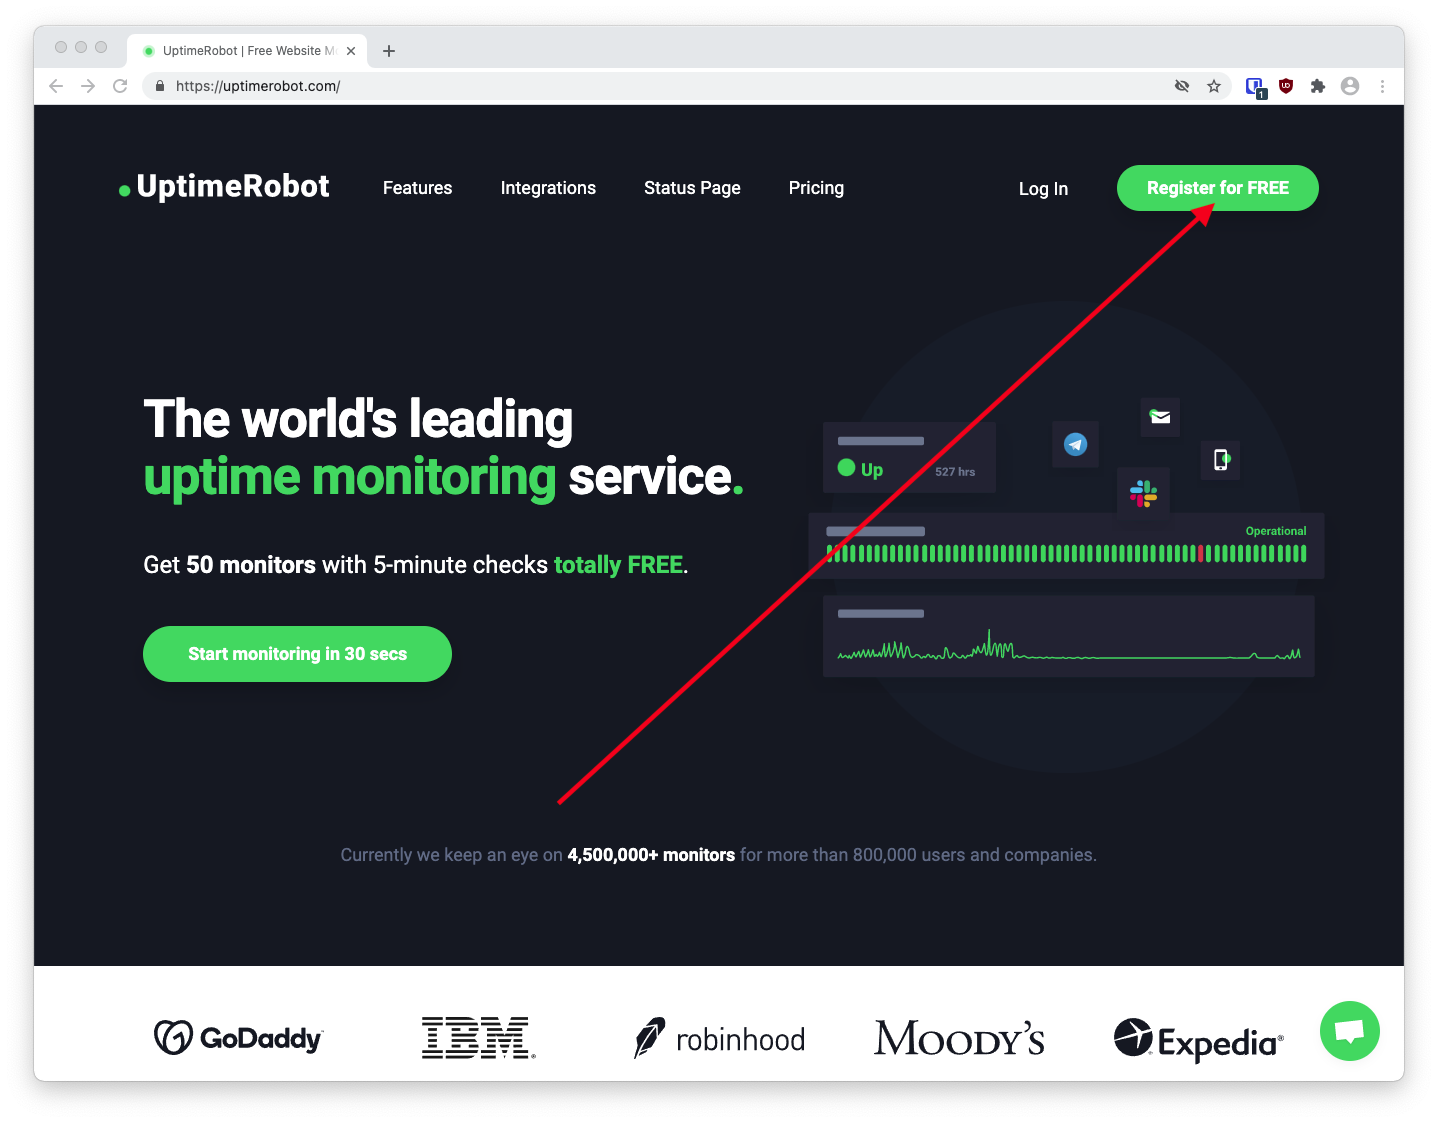
- Go to https://uptimerobot.com and click "Register for FREE"
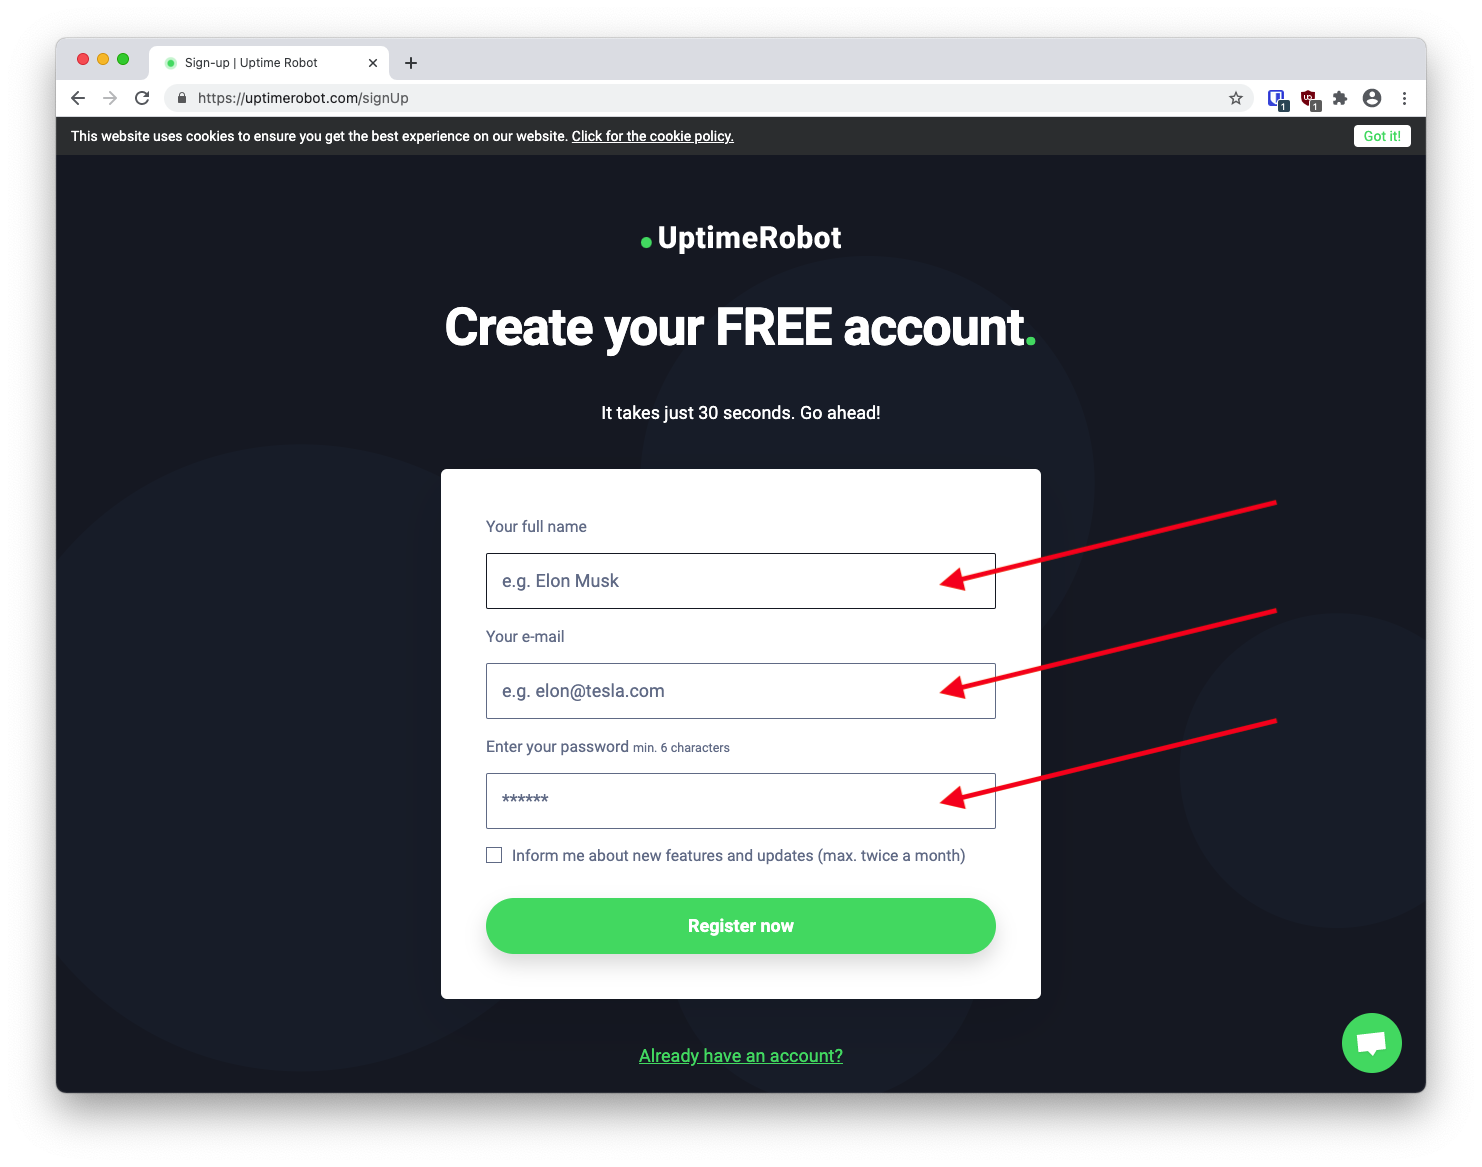
- Enter your name, email and create a password
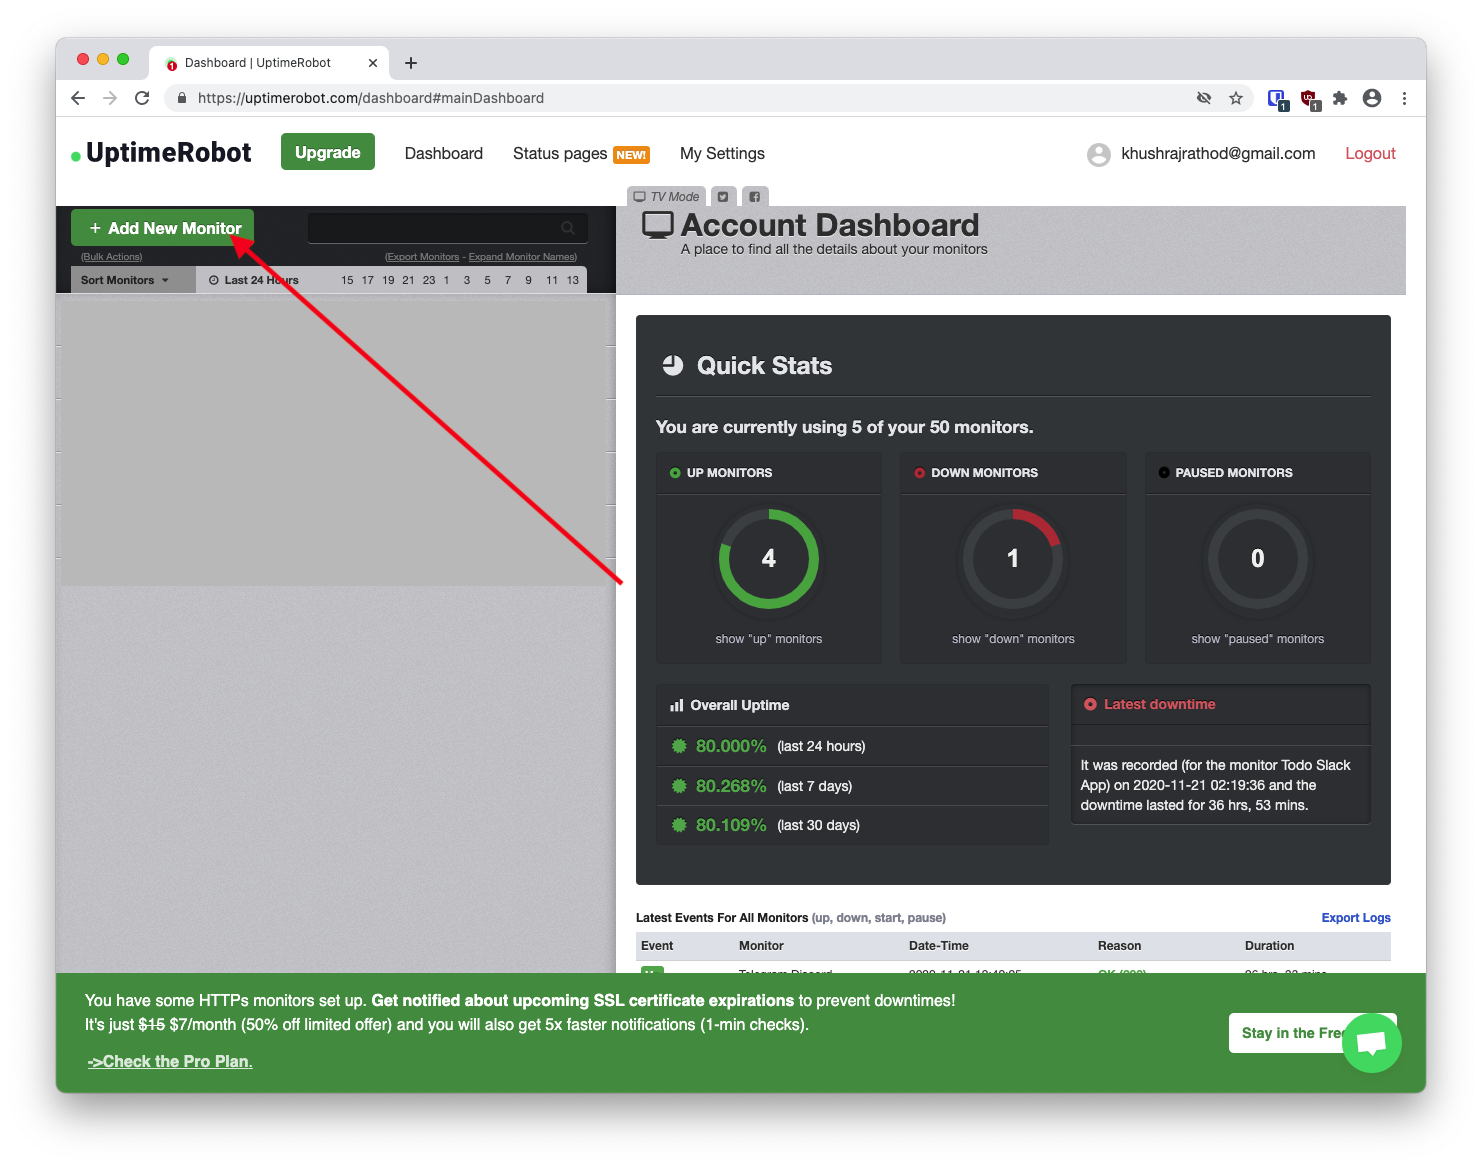
- Click "Add New Monitor"
- Click the dropdown next to monitor type, and click "HTTP(s)"
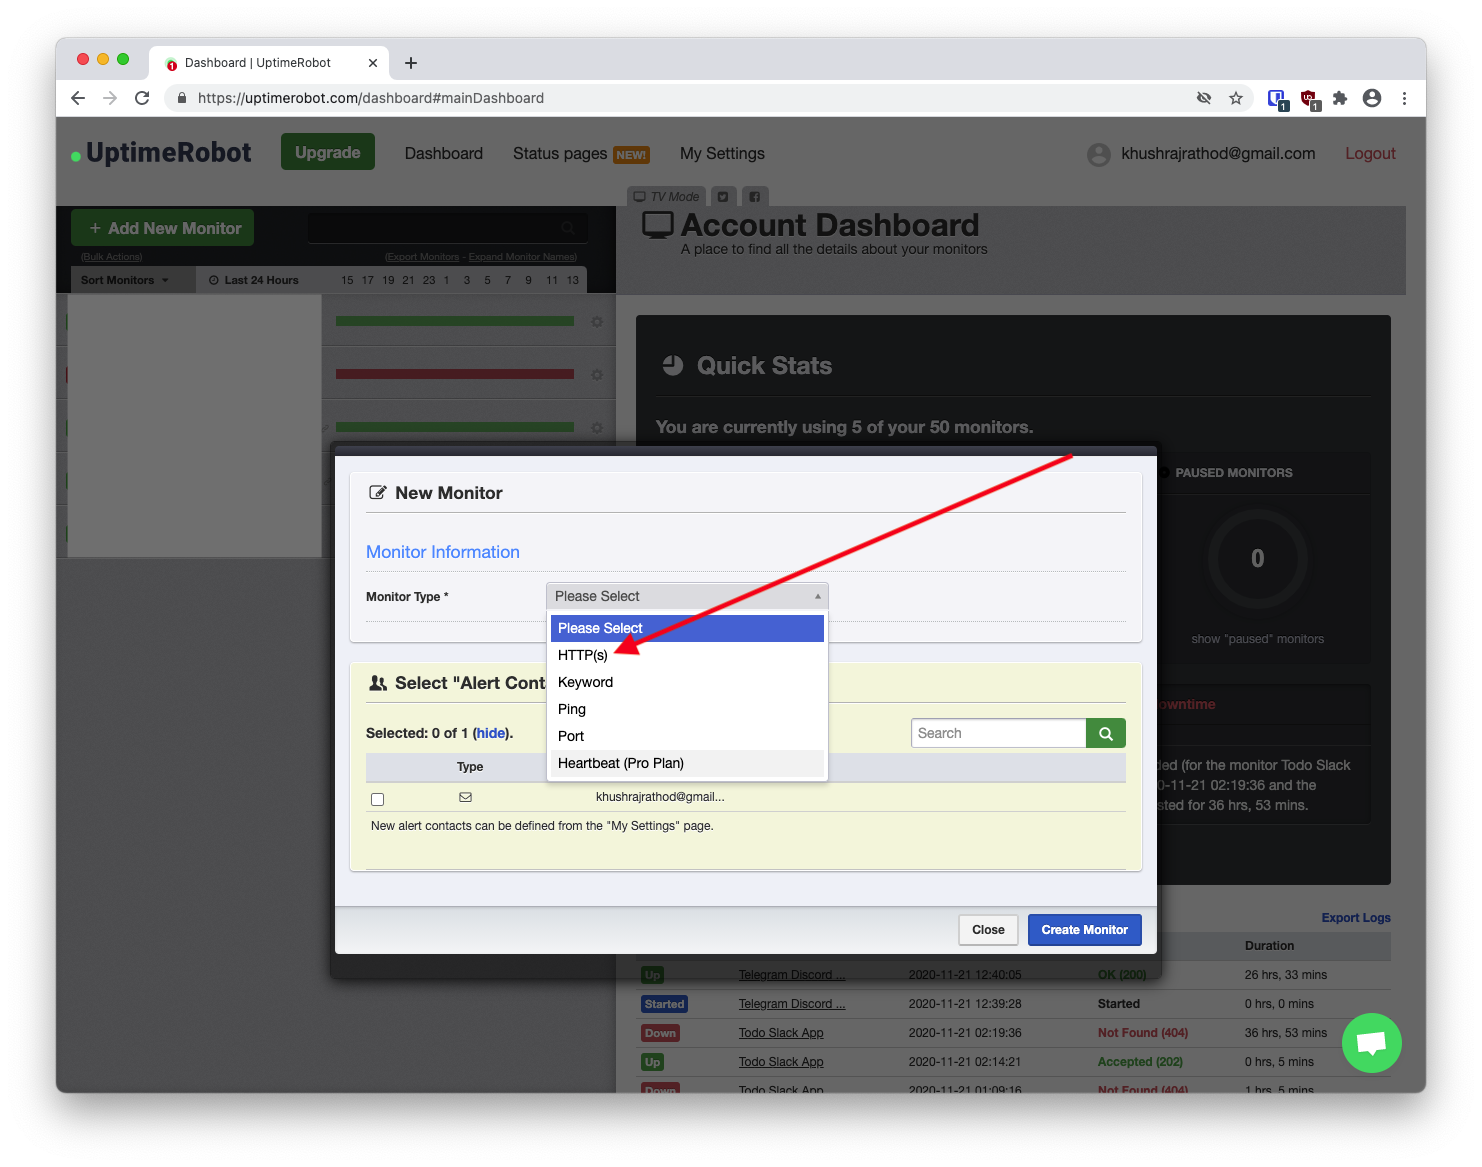
- Enter anything for friendly name, set the URL as your repl.it preview URL, and make sure you uncheck any alert contacts.
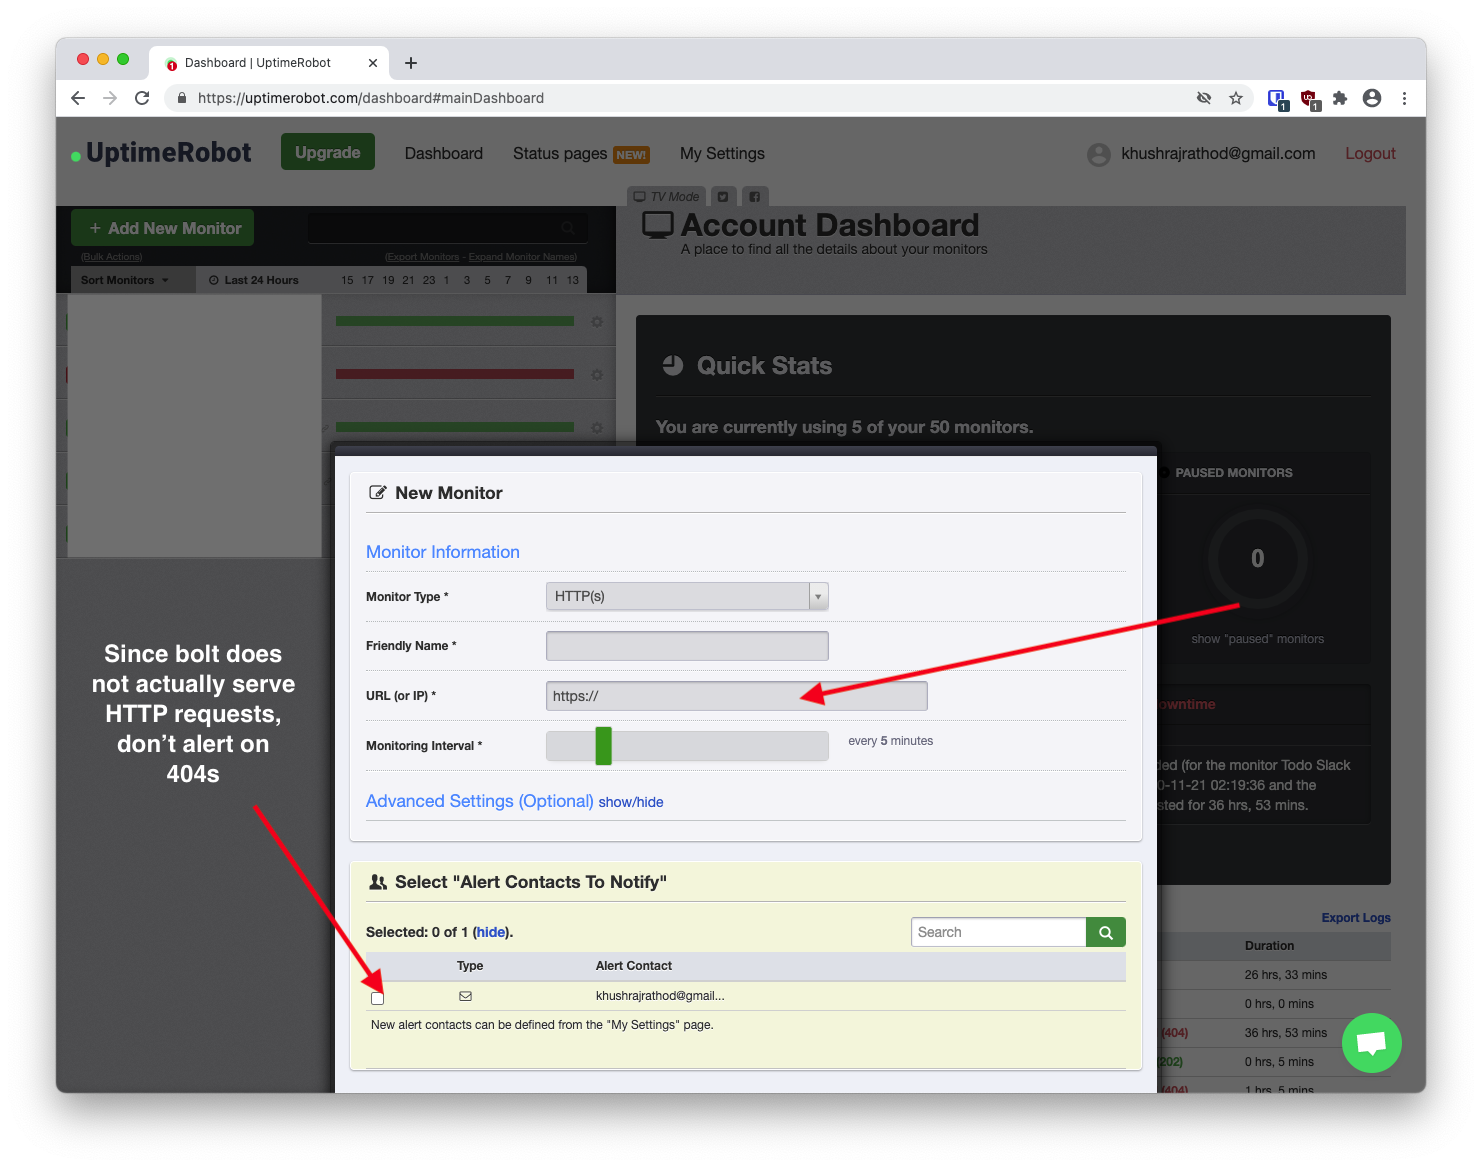
- Click "Create Monitor", and you're done!

What's next?
Now that you've managed to build a simple Todo list bot, build upon it and MAKE IT EXTREMELY USEFUL! This is for you to hack on, but here's some inspiration:
| Repl.it code | Live Demo on the Hack Club Slack | Description |
|---|---|---|
| Here | "@Todo List Plus" | This todo list bot let's you mark items as done (and un-mark them) without removing them from the todo list by striking through them. |
| Here | "@Todo List Random" | This todo list bot simply doesn't like listening to it's users and keeps replying with random messages. |
| Here | "@Todo List Community" | This todo list bot maintains a generic todo list that everyone can add to and remove from |
Did you make something awesome? Share it on #ship in the Hack Club Slack and tag me with @KhushrajRathod!