

Everyone uses websites. Chances are, you're using a website right now. But how do websites get access to data that is constantly changing? The answer: HTTP requests. The Requests library in Python is an easy way to integrate your program with resources online. It provides a simple way to work with HTTP requests, which are a vital part of most large applications.
In this workshop, we're going to use the Requests library to make a stock visualizer.
What are HTTP Requests?
HTTP requests are a type of request a program can send to a server to get data back. You might use requests to get weather information, or information from a database, or a video or audio file. There are many types of requests one can use, but the type we'll be covering here are GET requests, which send a request to the server or API with arguments in either the headers of the request or the URL, and expect some response data back. Google, Amazon, pretty much every site and app available uses requests to get data from the Internet.
Setting Up
I'll be working in repl.it for this example, but you can use any IDE you want. If you're not using repl.it or you already know how to set this up, skip to "Importing the Libraries."
So let's head over to https://repl.it and make an account or log in. You can do this by pressing one of these buttons:
Now that you've hopefully made an account and signed in, you should be given a page listing all your repls. Let's make a new repl with the + icon in the corner:

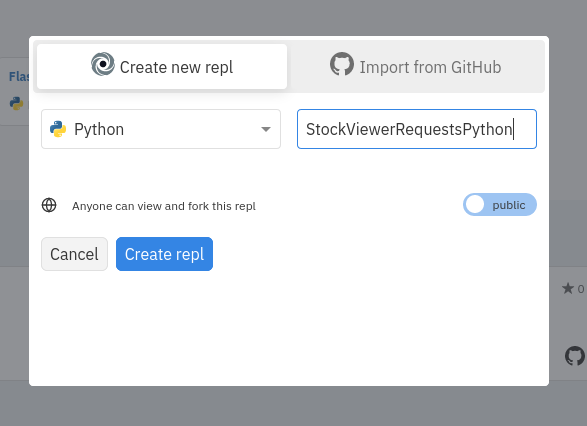
Okay, let's make this repl use Python and give it a cool and imaginative name:
And now we should have a workspace where we can code in Python. Let's move on to actually writing the code.
Importing the Libraries
For this program, we'll be using two libraries, the Requests library to handle our HTTP requests and the JSON library to parse the values we get back from those requests into values that our code can understand.
Both these libraries are set up for us out of the box, so we won't need to install them. So in your code, add these lines to the top of the files.
import requests
import json
These lines allow your code to access external libraries, in this case JSON and Requests, and work with them. They essentially extend Python's functionality and allow us to do more things with our code. We import these libraries because we want the functionality that these libraries offer.import [LIBRARY-NAME] is the syntax used to import the library [LIBRARY-NAME] in Python.
Setting up the API
The first thing we need to do is to set up the API we'll be requesting from. API stands for "Application Programming Interface" and they basically allow you to access data. In order to access stock data, we'll need an API that provides this data. For this demonstration, we'll use the Finnhub stock API to get values.
Of course, often times, APIs won't let you have the data for free. You typically need to have some method to prove your identity to the API to tell the API that you are allowed to make the request. This API requires an API key. This is a value that we pass to the API to prove that we are authenticated, or allowed to use the API. Luckily, Finnhub provides access to its API for free, so we'll need to go to their site and get one.
Once you're on the site, you'll see this screen:
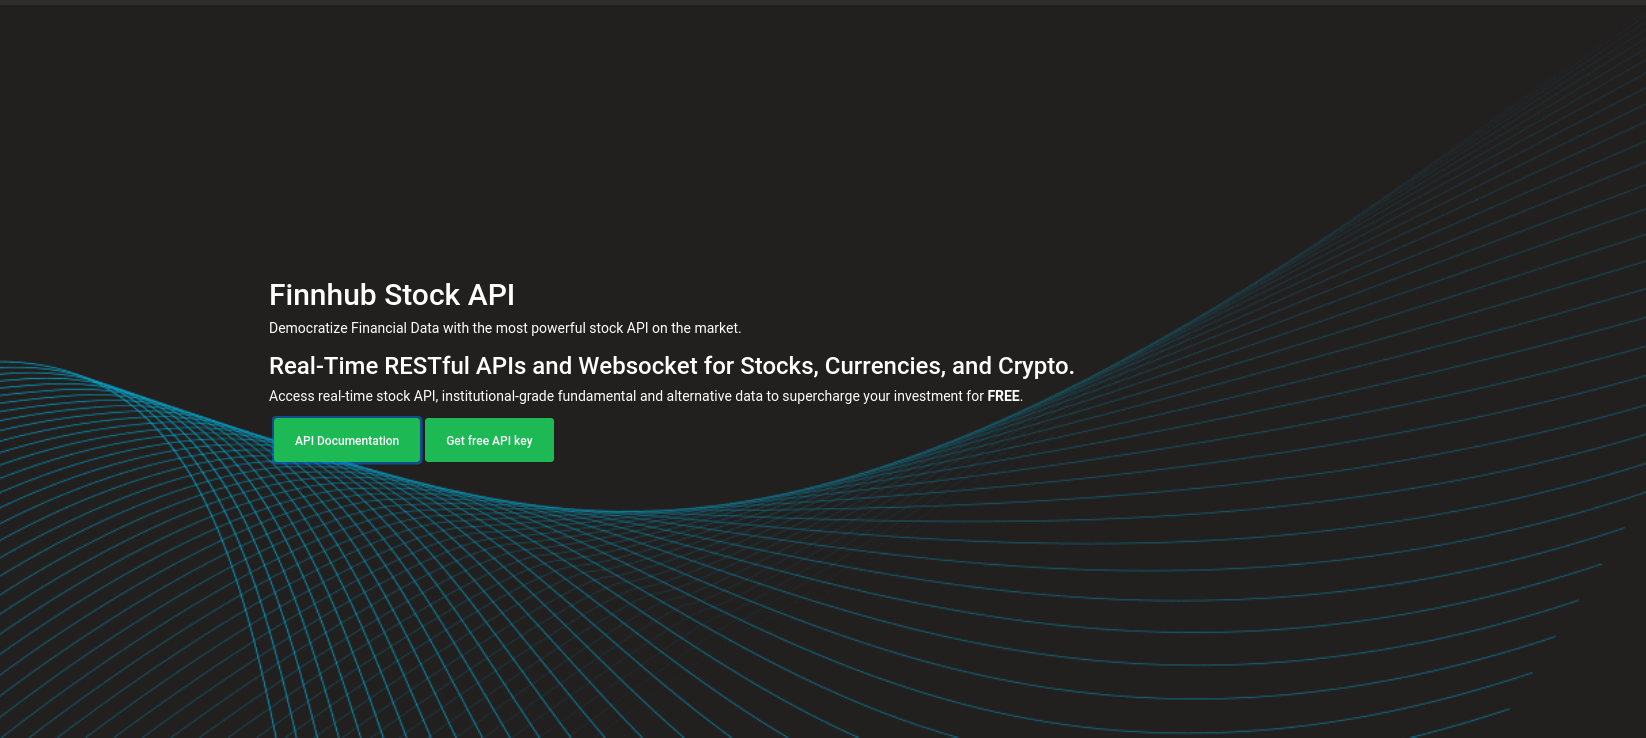
Click on "Get free API key" and create an account. You should see this:

There should be a key (I've hidden mine for security purposes - yours should be where the purple box is). Tthat's the key you'll need to use for authentication.
Now let's set up the key in Python. The Finnhub API wants the key passed in through the headers, which are ways to send additional information. The Requests library allows you pass headers into the web request, which is how we'll authenticate. Let's define the headers.
At the bottom of the main.py file, add:
header = {'X-Finnhub-Token':'[TOKEN]'}
# Replace [TOKEN] with the token you got from Finnhub
How does this code work?
The line creates a Python dictionary with an attribute 'X-Finnhub-Token' and a value of your token. This dictionary is saved as a variable, and later, we'll pass the variable into the request. When the server sees that your request has a token, it authenticates you, or lets you use the API.
Making our First Request
header = {'X-Finnhub-Token':'[TOKEN]'}
r = requests.get(f'https://finnhub.io/api/v1/quote?symbol=AAPL', headers = header)
Here we send our first request. Let's break down this line:
r = requests.get(f'https://finnhub.io/api/v1/quote?symbol=AAPL', headers = header)
In this line, we are using requests.get to send a HTTP GET request to the API. We're passing an argument symbol=AAPL into the URL to tell the API what stock we want a value from. For this demo, we'll use AAPL.
The part headers = header tells the program to set the request headers to the header variable we set earlier, the variable that has our token. The value we get back from the request is saved in a variable r.
Working with the Response
Now that we've made the request, how do we handle it? The requests.get method returns a Response object. This is a special object of a class that's defined in the Requests library. That has certain attributes we can use to get data. We can get the content of the request using r.content. So let's add this line:
print(r.content)
So let's see if it works. Try running this code by pressing the green "Run" button at the top of the window. If all goes well, you should see an output like this:
b'{"c":112,"h":115.23,"l":110.03,"o":114.57,"pc":113.49,"t":1600032334}'
This is a string of a JSON value that we'll need to parse in order to use.
Understanding the JSON
Let's take a look at that string so we can understand it. It has attributes c, h, l, o, pc, and t. These different values correspond to different data provided by the API. The following table breaks down the JSON into attributes and what the values they return mean.
| Attribute | Value |
|-----------|---------------------------------|
| c | Current price |
| h | Highest price of the day |
| l | Lowest price of the day |
| o | Price at opening |
| pc | Close price of the previous day |
| t | Timestamp |
{
  "c":112,
  "h":115.23,
  "l":110.03,
  "o":114.57,
  "pc":113.49,
  "t":1600032334
}
Parsing the JSON
While this value is what we want, we can't do much with it in our code. In order to use it, we'll need to use json.loads() to parse this string into a Python dictionary, which we can use. Let's add this line to our code:
rjson = json.loads(r.content)
This line uses the json.loads() method to parse the string value of r.content into a Python dictionary. Now, let's display this value to the user.
Displaying the Value
The value we want to display is the c value, or the current value of the stock. We can do that by printing rjson['c']. At the bottom of your code, add this line:
print("AAPL -", rjson['c'])
Run your code now. It should look something like this:
import requests
import json

header = {'X-Finnhub-Token':'[TOKEN]'}
r = requests.get(f'https://finnhub.io/api/v1/quote?symbol=AAPL', headers = header)
rjson = json.loads(r.content)
print(rjson['c'])
It should print this:
AAPL - [VALUE (This will change)]
If all goes well, you should see the stock value printed to your terminal. Congratulations, you've made your first request!
Taking an Input
This is cool and all, but if you want to get a certain value, it's cumbersome to have to change the code. Let's add functionality to take an input from the user. In Python, we use the input() method to do this. Just below the second import statement at the top of your code, addd this:
line = input("Give me a stock symbol?")
This line asks the user for the input and prints out the string Give me a stock symbol to to the terminal to tell the user what to do. It saves the value the user enters to the variable line.
But even if we ask the user for a value, it's useless unless we use it. Let's change the line
r = requests.get(f'https://finnhub.io/api/v1/quote?symbol=AAPL', headers = header)
to
r = requests.get(f'https://finnhub.io/api/v1/quote?symbol={line}', headers = header)
You'll notice that we have a tag {line} in the URL now. Python will format the URL string by passing in the value of the variable line into the corresponding tag, in this case, {line}. This means that the user's input is passed into the webrequest, and we get the value for the symbol the user inputs.
Calculating Percent Change
Let's add some more functionality now. I also want to show the change in stock price since the previous closing price. Let's calculate that now.
Replace the line
print(line, rjson['c'], sep = " - ");
with
value = rjson['c']
previousClose = rjson['pc']
percentChange = ((value - previousClose)/previousClose) * 100
This will allow us to calculate how much the stock value has changed by. The code value - previousClose tells us how much our stock's price has changed by. We divide by previousClose to get a decimal representation of the change. We multiply by 100 to convert to a percent.
Now let's format our print statement. Add these lines to the bottom of your code.
print(line + ':')
print("\t Current Value", "$" + str(value), sep = " - ")
print("\t Previous Close", "$" + str(previousClose), sep = " - ")
print("\t Percent Change", "{:.3f}".format(percentChange)+"%", sep = " - ")
The first line here prints the stock name. The second and third lines put in tabs with \t and then print the name and the value. The sep argument tells us how the strings we separate with , in the code will be separated when printing.
The fourth line here is most interesting. The code uses "{:.3f}" as a string placeholder for the format() method. I won't go into much depth on how it works here, but an article is linked at the bottom. We format the integer percentChange using this method and add a "%" string to the end to make it look nice.
Your final code should look like this:
import requests
import json

line = input("Give me a stock symbol?")
header = {'X-Finnhub-Token':'[TOKEN]'}
r = requests.get(f'https://finnhub.io/api/v1/quote?symbol={line}', headers = header)
rcontent = (r.content)
rjson = json.loads(rcontent)
value = rjson['c']
previousClose = rjson['pc']
percentChange = ((value - previousClose)/previousClose) * 100
print(line + ':')
print("\t Current Value", "$" + str(value), sep = " - ")
print("\t Previous Close", "$" + str(previousClose), sep = " - ")
print("\t Percent Change", "{:.3f}".format(percentChange)+"%", sep = " - ")
Run your code and see what happens. It should prompt you for a symbol and give you the value of that stock.
Why this Matters
Webrequests are a vital part of almost every large application or product. So often, you'll need to make requests to fetch data online. Now that you've learned how to make a webrequest with Python, you'll be prepared to use Requests when making any large-scale project. They can also be really helpful for automation. Imagine downloading large numbers of files with from the internet. With requests, that's a possibility. Requests opens the door to many possibilities, a whole Internet full of data to access and utilize.
Hacking and Further Reading
Now that we've figured out how to work with requests, how do we expand on this? There's a lot of potential ways to modify this to add functionality. In addition, the requests library is applicable to MANY other projects, so know that you know how it works, you can use it to get information from any API you want. Here are some ideas for mods you can make this project to add functionality:
Maybe write a program that will request these values for every stock symbol in a file?
Or let the user input the stock symbols into the file?
Or write a program to sort the stocks by value?
Or a modification to the code that uses a different API to get information about an anime from an ID?
Here are some things to read to learn more about what we did here:
- https://requests.readthedocs.io/en/master/user/quickstart/#make-a-request
- https://www.tutorialspoint.com/http/http_requests.htm
- https://docs.python.org/3/library/json.html
- https://www.howtogeek.com/343877/what-is-an-api/
- https://realpython.com/python-f-strings/#option-2-strformat
- https://www.tutorialspoint.com/python/python_dictionary.htm