

In this workshop, you will learn how to:
- Build a Chrome extension
- Use Chrome's API to save and access data
- Pack and unpack extensions correctly to show up in your extensions pane
- Use HTML/CSS/JS to make an interactive application
- Using Bootstrap's CSS library
- Added complex event listeners and tools to recognize button clicks and run API requests
You will be making a Chrome extension that allows you to save and access your Zoom links for your classes. This is a very simple app, but it will allow you to "hack your way" to productivity by teaching you the foundation of building a Chrome extension.
Difficulty/interest level: This is a simple web app using HTML/CSS/JS, with a strong emphasis on JavaScript. I will go over everything you need to know for this workshop, so you don't need to worry about how much experience you have. This demo will specifically teach you how to build a bookmarking application (that is tailored for Zoom links), but if you want to learn how to build any type of Chrome extension, this is your workshop!
Average time for completion: You can complete this in 15-20 minutes. You will need the following tools:
- Repl.it online coding platform (no account necessary, but highly recommended)
- Bootstrap CSS
- Chrome API
Demo: Test out what we'll be making by tinkering with this live demo!
-
Link to download the published version: https://chrome.google.com/webstore/detail/zoom-bookmarks/haplbihlmhnffbihdfjhgnickameiphd?hl=en
-
You can download/clone this Github repository for the final code, if you want to reference from a master copy: https://github.com/shreyfirst/zoom_bookmarks
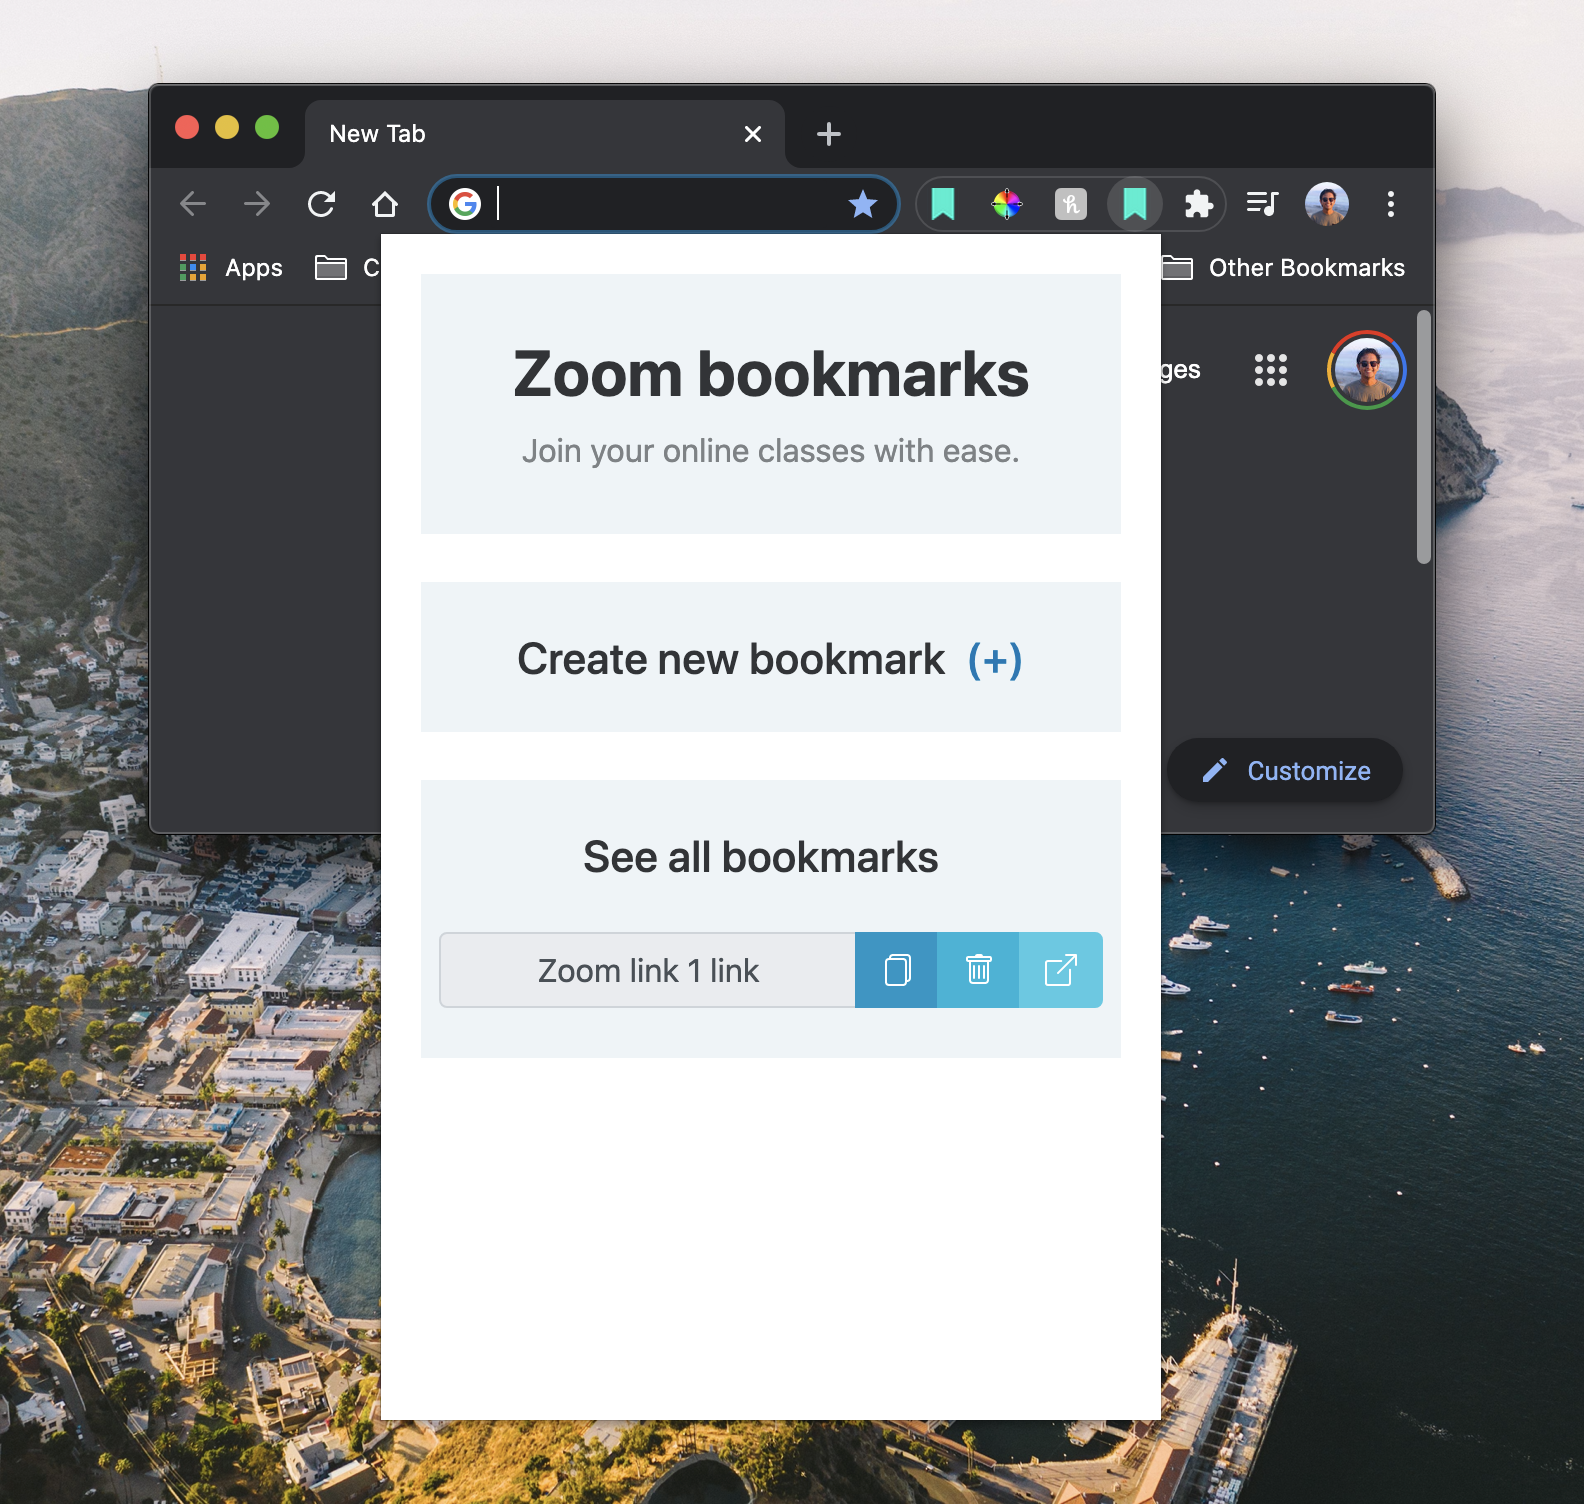
Table of Contents
There are a few parts to this workshop. I highly reccomend doing them in order because each one relies on the other.
-
Setting up the project
-
Frontend
- Creating the design and importing different libraries/stylesheets to enhance the visual aspect of the app
- Adding form fields and linking the data in the code, so we can reference it in the backend later
-
Backend
- Plan out what the structure of the app is going to look like
- Create different functions to handle different events that could happen
-
Testing the extension
Setting up the project
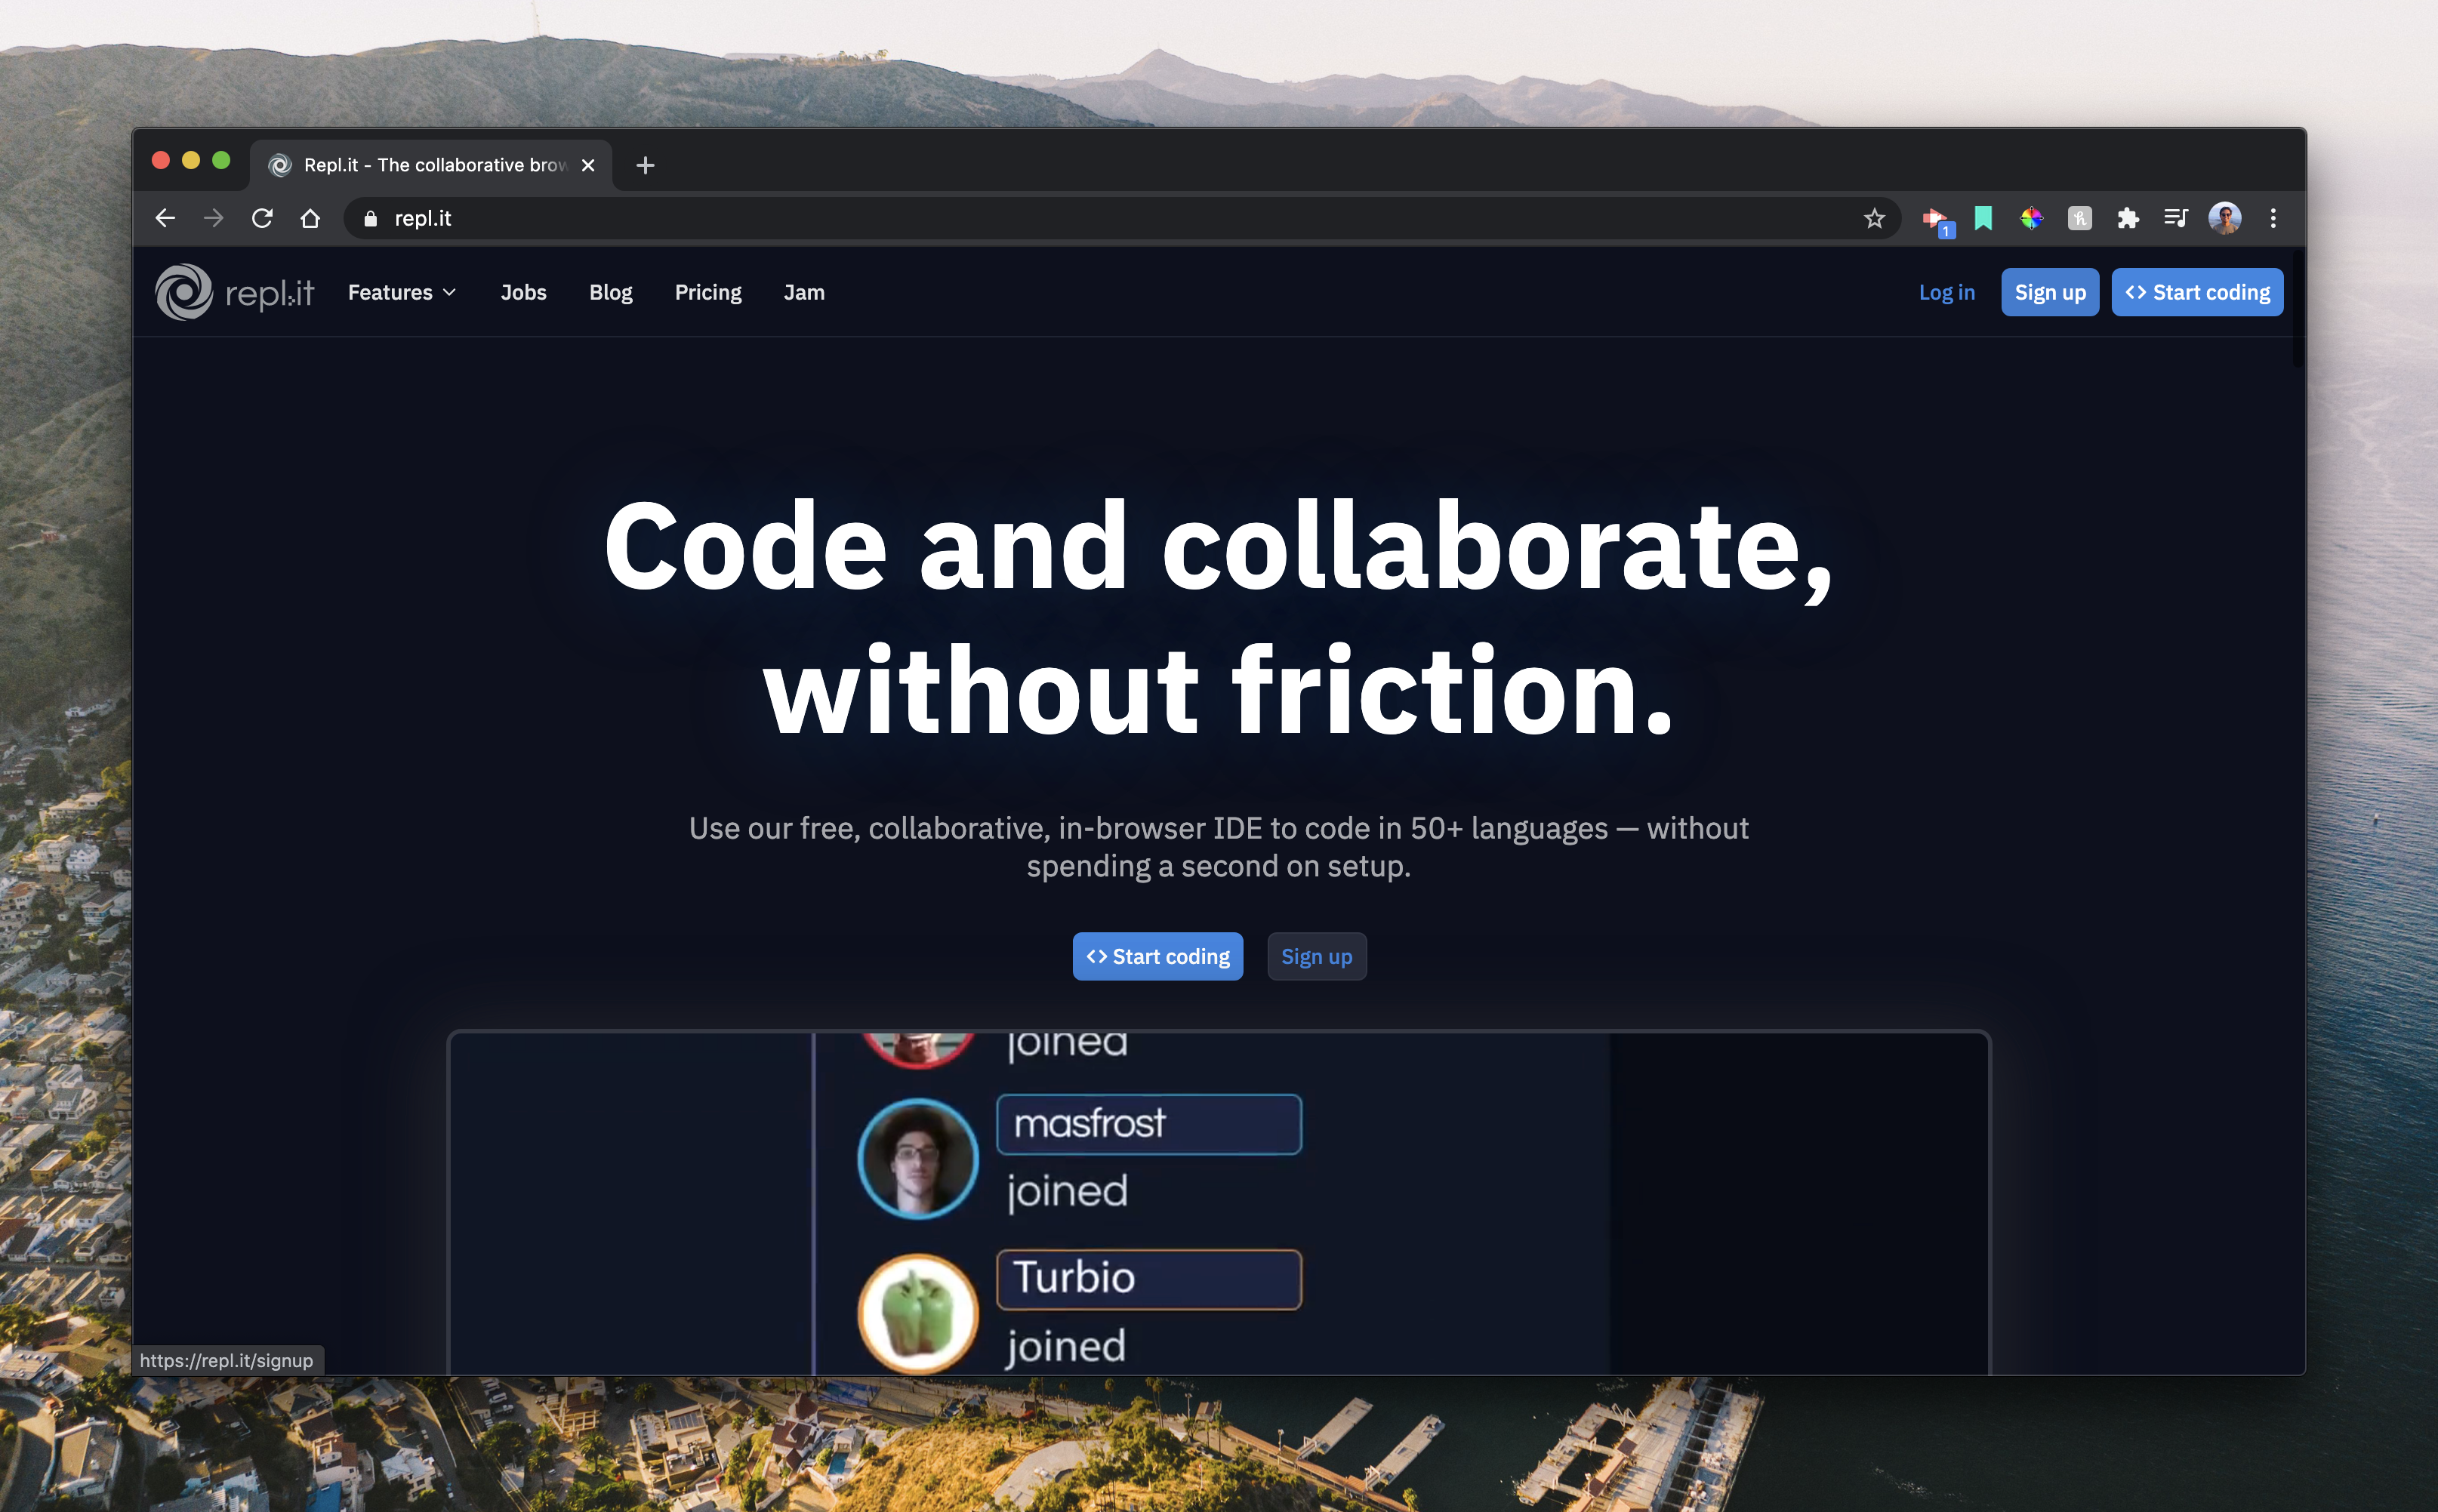
- Go to to Repl.it.
The website will look a little like this:
-
Click the "Start coding" button on the top right
-
Choose "HTML/CSS/JS"
- This means that we will be coding in different web languages. HTML is like the text files, CSS is similar to the design element, and JS is anything special like animations, etc
- Once you have a new HTML/CSS/JS Repl, you want to configure it with this file structure:
.
├── index.html
├── action.js
├── icon.png
├── manifest.json
└── _locales/
    └── en/
        └── messages.json
You can also see the file structure live here on the final Github repo: https://github.com/shreyfirst/zoom_bookmarks
NOTES about the file structure:
index.htmlcan be whatever Repl.it sets for you. You can delete the other standard Repl files (style.cssandscript.js)icon.pngcan be any square PNG graphic that is 48x48px. You can download a sampleicon.pnghere: https://cloud-mkf1ulf19.vercel.app/0bookmark.png
Edit your manifest.json
Every Chrome extension has a Manifest file. It essentially sets the scene for what your Chrome extension looks like to the end user. We will be following the style guide provided by Chrome here: https://developers.chrome.com/extensions/manifest
There are a few mandatory items that we need to put like manifest_version, name, and version. In addition, there are a few reccomended and optional items we put to make our extension work. Our app is a browser action Chrome extension. Learn more about different types of extensions here: https://developer.chrome.com/extensions
Add the following code into your manifest.json file:
{
    "name": "Zoom Bookmarks Demo",
    "version": "0.0.1",
    "manifest_version": 2,
    "description": "Demo bookmarks app that allows you to save and open your Zoom links.",
    "homepage_url": "https://hackclub.com",
    "icons": {
        "48": "icon.png"
    },
    "default_locale": "en",
    "browser_action": {
        "default_icon": "icon.png",
        "default_title": "Zoom Bookmarks Demo",
        "default_popup": "index.html"
    },
    "permissions": [
        "chrome://favicon/",
        "clipboardRead",
        "clipboardWrite",
        "contentSettings",
        "contextMenus",
        "cookies",
        "idle",
        "management",
        "notifications",
        "tabs",
        "background",
        "alarms",
        "storage"
    ]
}
Make sure to notice how we linked everything in our file structure inside of our manifest.json. We linked the icon, source folder with the html file. The action.js file will be linked to the index.html file once we get into coding that.
Edit your messages.json
Update the file with the contents from this site: https://gist.githubusercontent.com/shreyfirst/51eae0fbb5bb07f37adba84af0582910/raw/f98c1d3333b07b9e9e15d1e1ef9ec51985d9da1b/messages.json
This is essentially a template file of all the error messages that Chrome could give the user.
Frontend
Frontend is a big part of web applications. This is what the user interacts with, meaning it needs to be clean and free of errors (just like every other part of your app)! Frontend is usually done in HTML or Javascript/Typescript files, depending on how you do it. In our case, we will be doing our frontend code in html.
Setting up our HTML file and creating a design
We are going to use Bootstrap's UI components for our HTML/CSS. That means we need to import the Bootstrap library. Replace whatever you have in index.html with this:
<html style="padding: 20px;text-align: center;">

<head>
    <meta charset="utf-8">
    <meta http-equiv="Content-Security-Policy" content="script-src 'self' https://* 'unsafe-inline' 'unsafe-eval' blob">
    <meta name="viewport" content="width=device-width, initial-scale=1.0, shrink-to-fit=no">
    <title>Zoom Bookmarks Demo</title>
    <link rel="stylesheet" href="https://cdnjs.cloudflare.com/ajax/libs/twitter-bootstrap/4.5.2/css/bootstrap.min.css">
    <link rel="stylesheet" href="https://beneficialcriticalcomputers.shreygupta1.repl.co/style.css">
    <script src="action.js"></script>
</head>

</html>
Key takeaways:
Notice the tags. HTML has specific tags that are used to tell the code the certain things.
htmlandheadtags are just to tell the code that we are starting our application and adding some header items. You can code without thehtmltag because HTML can pick up on clues, but it's good practice to include these. Theheadtag is important because we want to import stying from other files. I even added some internal styling to thehtmltag. What do you think they do?metaandtitleis metadata. Just tells the browser what it needs, how to interpret the code (there are different ways to encode text), who to allow to see this page, what kind of content to show them and what size it should be, and what it should be called.linkandscripthelp teach the code what libaries it should use. It looks like we're taking in 2 stylesheets and 1 script. One stylesheet is Bootstrap CDN and the other is a minified version, if you are running the code locally. Since the CDN is first, it will get whatever changes are made live on the official server, but since theres a local version as well, it will use the CSS version that was introduced when your app was released... in case Bootstrap goes down or you are without internet.- The script is our linked
action.jsfile, which stores our backend functions
- The script is our linked
You can learn more about different HTML tags by going to this link: https://www.w3schools.com/tags/default.asp
Adding the meat to our design
Let's plan this out before we start coding! After all, coding is about planning, right? We need to:
-
Learn how to use Bootstrap. Take a look at the Bootstrap documentation and try to see what we'd need? The design can be totally up to whatever you want it to be. Here's some things we need to do with our app:
- Add a new bookmark
- Add by link
- Add by meeting ID (and convert it to a link)
- See existing bookmarks
- Copy a bookmark link
- Delete a bookmark link
- Open a bookmark link
- Add a new bookmark
-
Notice how we planned all the features of the app before we started? This is something all programmers do. You need to decide your MVP (minimum viable product) and work on that solely. I could've added a feature to edit a bookmark, but that would've had to handle getting data and editing it and rehandling it.
Using our basic knowledge of HTML and researching of the Bootstrap documentation (learn more about HTML tags here), I think we can separate the UI into 3 parts:
- Title
- New bookmark
- Existing bookmakrs
You can do the UI however you feel, I think they should all be in 3 separate containers. See my code here and at it below the head tag in your index.html.
<body style="text-align: center;">
    <div class="features-boxed" style="height: 130px;width: none;min-width: none;margin-bottom:">
        <div class="container" style="text-align: center;width: 350px;padding-right: 0px;padding-left: 0px;">
            <div class="intro" style="text-align: center;margin-right: 0px;margin-left: 0px;width: 350px;min-width: 350px;max-width: 350px;margin-bottom: 20px;">
                <h2 class="text-center" style="margin-bottom: 8px;width: 350px;min-width: 350px;padding-top: 30px;font-size: 32px;">Zoom bookmarks<h2>
                <p class="text-center" style="padding-right: 0px;padding-left: 0px;text-align: center;width: 350px;min-width: 350px;max-width: 350px;">Join your online classes with ease.</p>
            </div>
        </div>
    </div>

</body>
Key takeaways:
- The
bodytag will store the code that our users will actually see! - I used a
divfor my containers, using the Bootstrap CSSclassesas a way to style my code. - My text was created using
h2andptags. This means Header Level 2 and Paragraph. They just help us decide how big we want our text to look like. - I used a lot of custom styling! You can design this however you want, but I chose to set my widths, so everything fits perfectly.
What it should look like so far:

Now, we should add the 2nd section: Creating a new meeting
We don't want a use to be bogged down to create a new meeting every single time they open the app, so I think we should design this so it's a button that has components that drop down below it. For this, we would want to put ALL of our components into the app and we can code the drop down feature separately in Javascript.
Add this code inside of the body tag:
<br>
<div id="add" class="features-boxed" style="height: 75px;width: none;min-width: none;padding-top:0px">
  <div class="container" style="text-align: center;width: 350px;padding-right: 0px;padding-left: 0px;">
    <div style="width:100%;">
      <h4 class="text-center" style="margin-bottom: 20px;width: 350px;min-width: 350px;padding-top: 25px;font-size: 22px;">Create new bookmark<a id="open1" href="javascript:" style="color: #0077b6; padding-left: 10px;font-size: 22px;display: inline;">(+)</a></h4>
    </div>
    <form action="" id="main">
      <div class="box" style="padding: 0px;padding-bottom: 10px;margin-bottom: 10px;width: 350px;min-width: 350px;max-width: 350px;">
        <div class="form-row" style="text-align: center;margin-right: 0px;margin-left: 0px;">
          <div class="col-md-6" style="width: 150px;padding-right: 0px;padding-left: 0px;text-align: right;max-width: 35%;"><label class="col-form-label" style="padding-right: 10px;margin-top: 5px;">Class Name</label></div>
          <div class="col" style="margin-top: 5px;padding-right: 0px;text-align: left;max-width: 70%;"><input id="class_name" class="form-control" type="text" style="width: 175px;"></div>
        </div>
      </div>
      <div class="box" style="border-color: #7d8285;padding: 10px;margin-bottom: 0px;border-top-style: solid;border-right-style: solid;border-left-style: solid;width: 350px;min-width: 350px;max-width: 350px;padding-right: 0px;padding-left: 0px;padding-bottom: 0px;">
        <div class="form-row" style="text-align: center;margin-right: 0px;margin-left: 0px;">
          <div class="col-md-6" style="width: 150px;padding-right: 0px;padding-left: 0px;text-align: right;max-width: 35%;"><label class="col-form-label" style="padding-right: 10px;margin-top: 5px;"> Zoom ID</label></div>
          <div class="col" style="margin-top: 5px;padding-right: 0px;text-align: left;max-width: 70%;"><input id="meeting_id" class="form-control" type="text" style="width: 175px;"> </div>
        </div>
        <div class="form-row" style="text-align: center;margin-right: 0px;margin-left: 0px;">
          <div class="col-md-6" style="width: 150px;padding-right: 0px;padding-left: 0px;text-align: right;max-width: 35%;"><label class="col-form-label" style="padding-right: 10px;margin-top: 5px;">Password</label></div>
          <div class="col" style="margin-top: 5px;padding-right: 0px;text-align: left;max-width: 70%;"><input id="password" class="form-control" type="text" style="width: 175px;"></div>
        </div>
        <p class="text-center" style="padding-left: 0px;margin-bottom: 0px;padding-bottom: 5px;padding-top: 5px;width: none;padding-right: 0px;border-color: #03045E;border-right-style: none;border-left-style: none;"><strong>OR</strong></p>
        <div class="form-row" style="text-align: center;margin-right: 0px;margin-left: 0px;justify-content: center;">
          <div class="col-md-6" style="width: 150px;padding-right: 0px;padding-left: 0px;text-align: right;max-width: 35%;"><label class="col-form-label" style="padding-right: 10px;margin-top: 0ps;">Meeting link</label></div>
          <div class="col" style="margin-top: 0px;padding-right: 0px;text-align: left;max-width: 70%;"><input id="zoom_link" class="form-control" type="text" style="width: 175px;"></div>
          <p style="font-size: 10px;margin: 0px; margin-top: 5px">Supports Google Meet, Webex, and other links too.</p>
        </div>
      </div>

      <div class="box" style="border-color: #7d8285;padding: 0px;border-right-style: solid;border-bottom-style: solid;border-left-style: solid;width: 350px;min-width: 350px;max-width: 350px;padding-bottom: 15px;"></div>
      <button class="btn btn-primary" id="new" type="submit" style="text-align: center;margin-top: 22.5px;">Create meeting bookmark</button>
      </div>
    </form>
</div>
<br>
Key takeaways:
- I added a
brtag to give the title component and the container we just created. - If you are coding the design yourself, just make sure to have the basic fields:
- Meeting Info manually
- meeting ID
- meeting password
- Meeting link
- Submit button
- Meeting Info manually
- It's important you use the same
idas I did, as it will directly work with the backend!
What it should look like now:
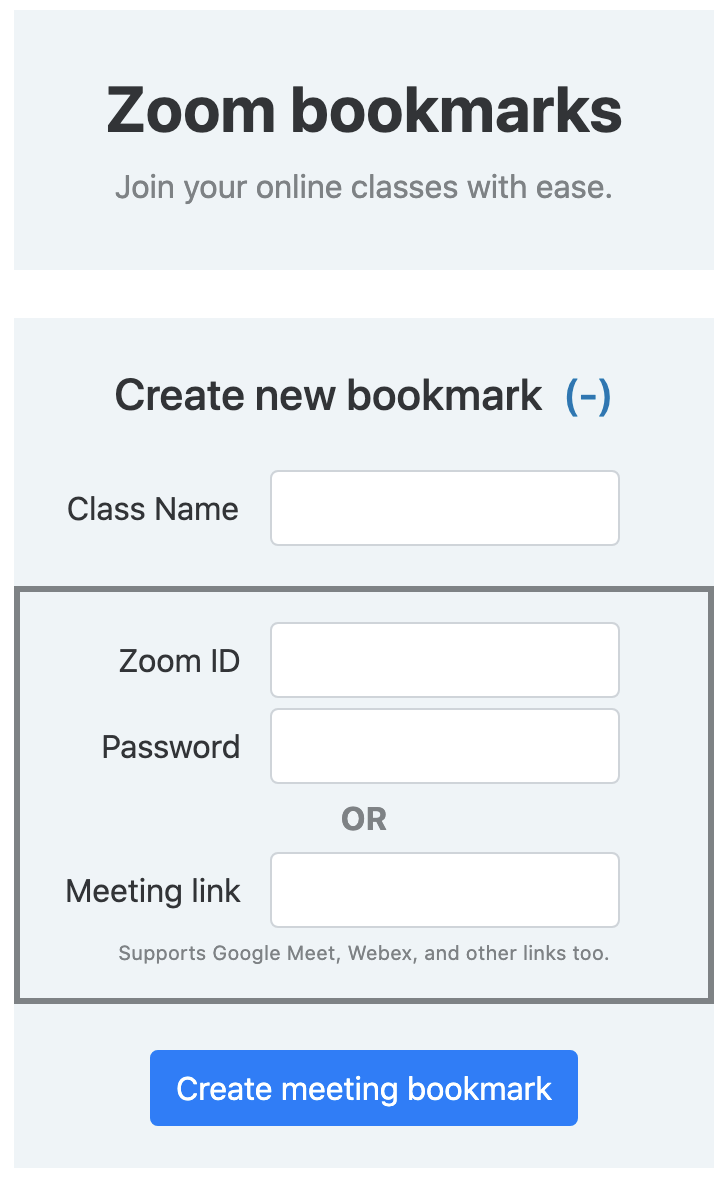
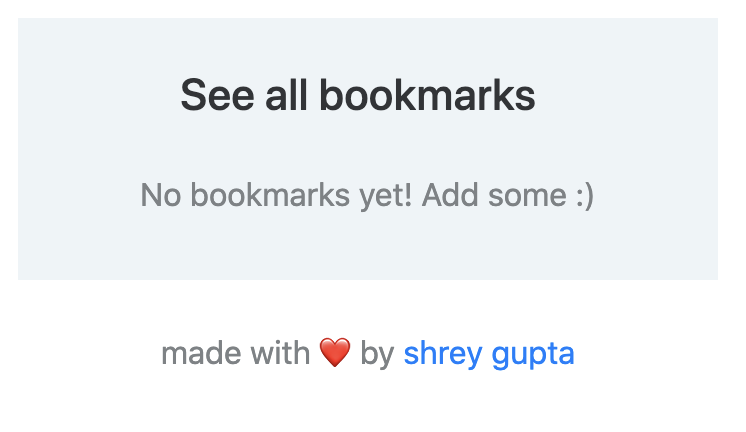
Now let's add the last part. This is the see existing meetings section. Add this code above the body tag and below your last br:
<div class="features-boxed" style="width: none;min-width: none;margin-bottom:">

  <div class="container" style="text-align: center;width: 350px;padding-right: 0px;padding-left: 0px;padding-bottom: 15px;">
    <div style="width:100%;">
      <h4 class="text-center" style="margin-bottom: 25px;width: 350px;min-width: 350px;padding-top: 25px;font-size: 22px;">See all bookmarks<a id="open2" href="javascript:" style="color: #0077b6; padding-left: 10px;font-size: 22px;display: inline;"></a></h4>
    </div>

    <div id="bookmarks" class="row">
      <div id="area" class="col">
        <p id="none1" class="text-center" style="padding-right: 0px;padding-left: 0px;text-align: center;width: 350px;min-width: 350px;max-width: 350px;">No bookmarks yet! Add some :)</p>
      </div>
    </div>
  </div>
</div>
<br>
<p class="text-center" style="color: #7d8285; padding-right: 0px;padding-left: 0px;text-align: center;">made with ❤️️ by <a href="mailto:email@example.com">your mom :)</a></p>

<div id="data">
</div>
This is pretty similar to the Add Meeting component in terms of what tags are present and how to use them. Tip: You should add your name and email hyperlink into your code in case people have questions or need to reach out :)
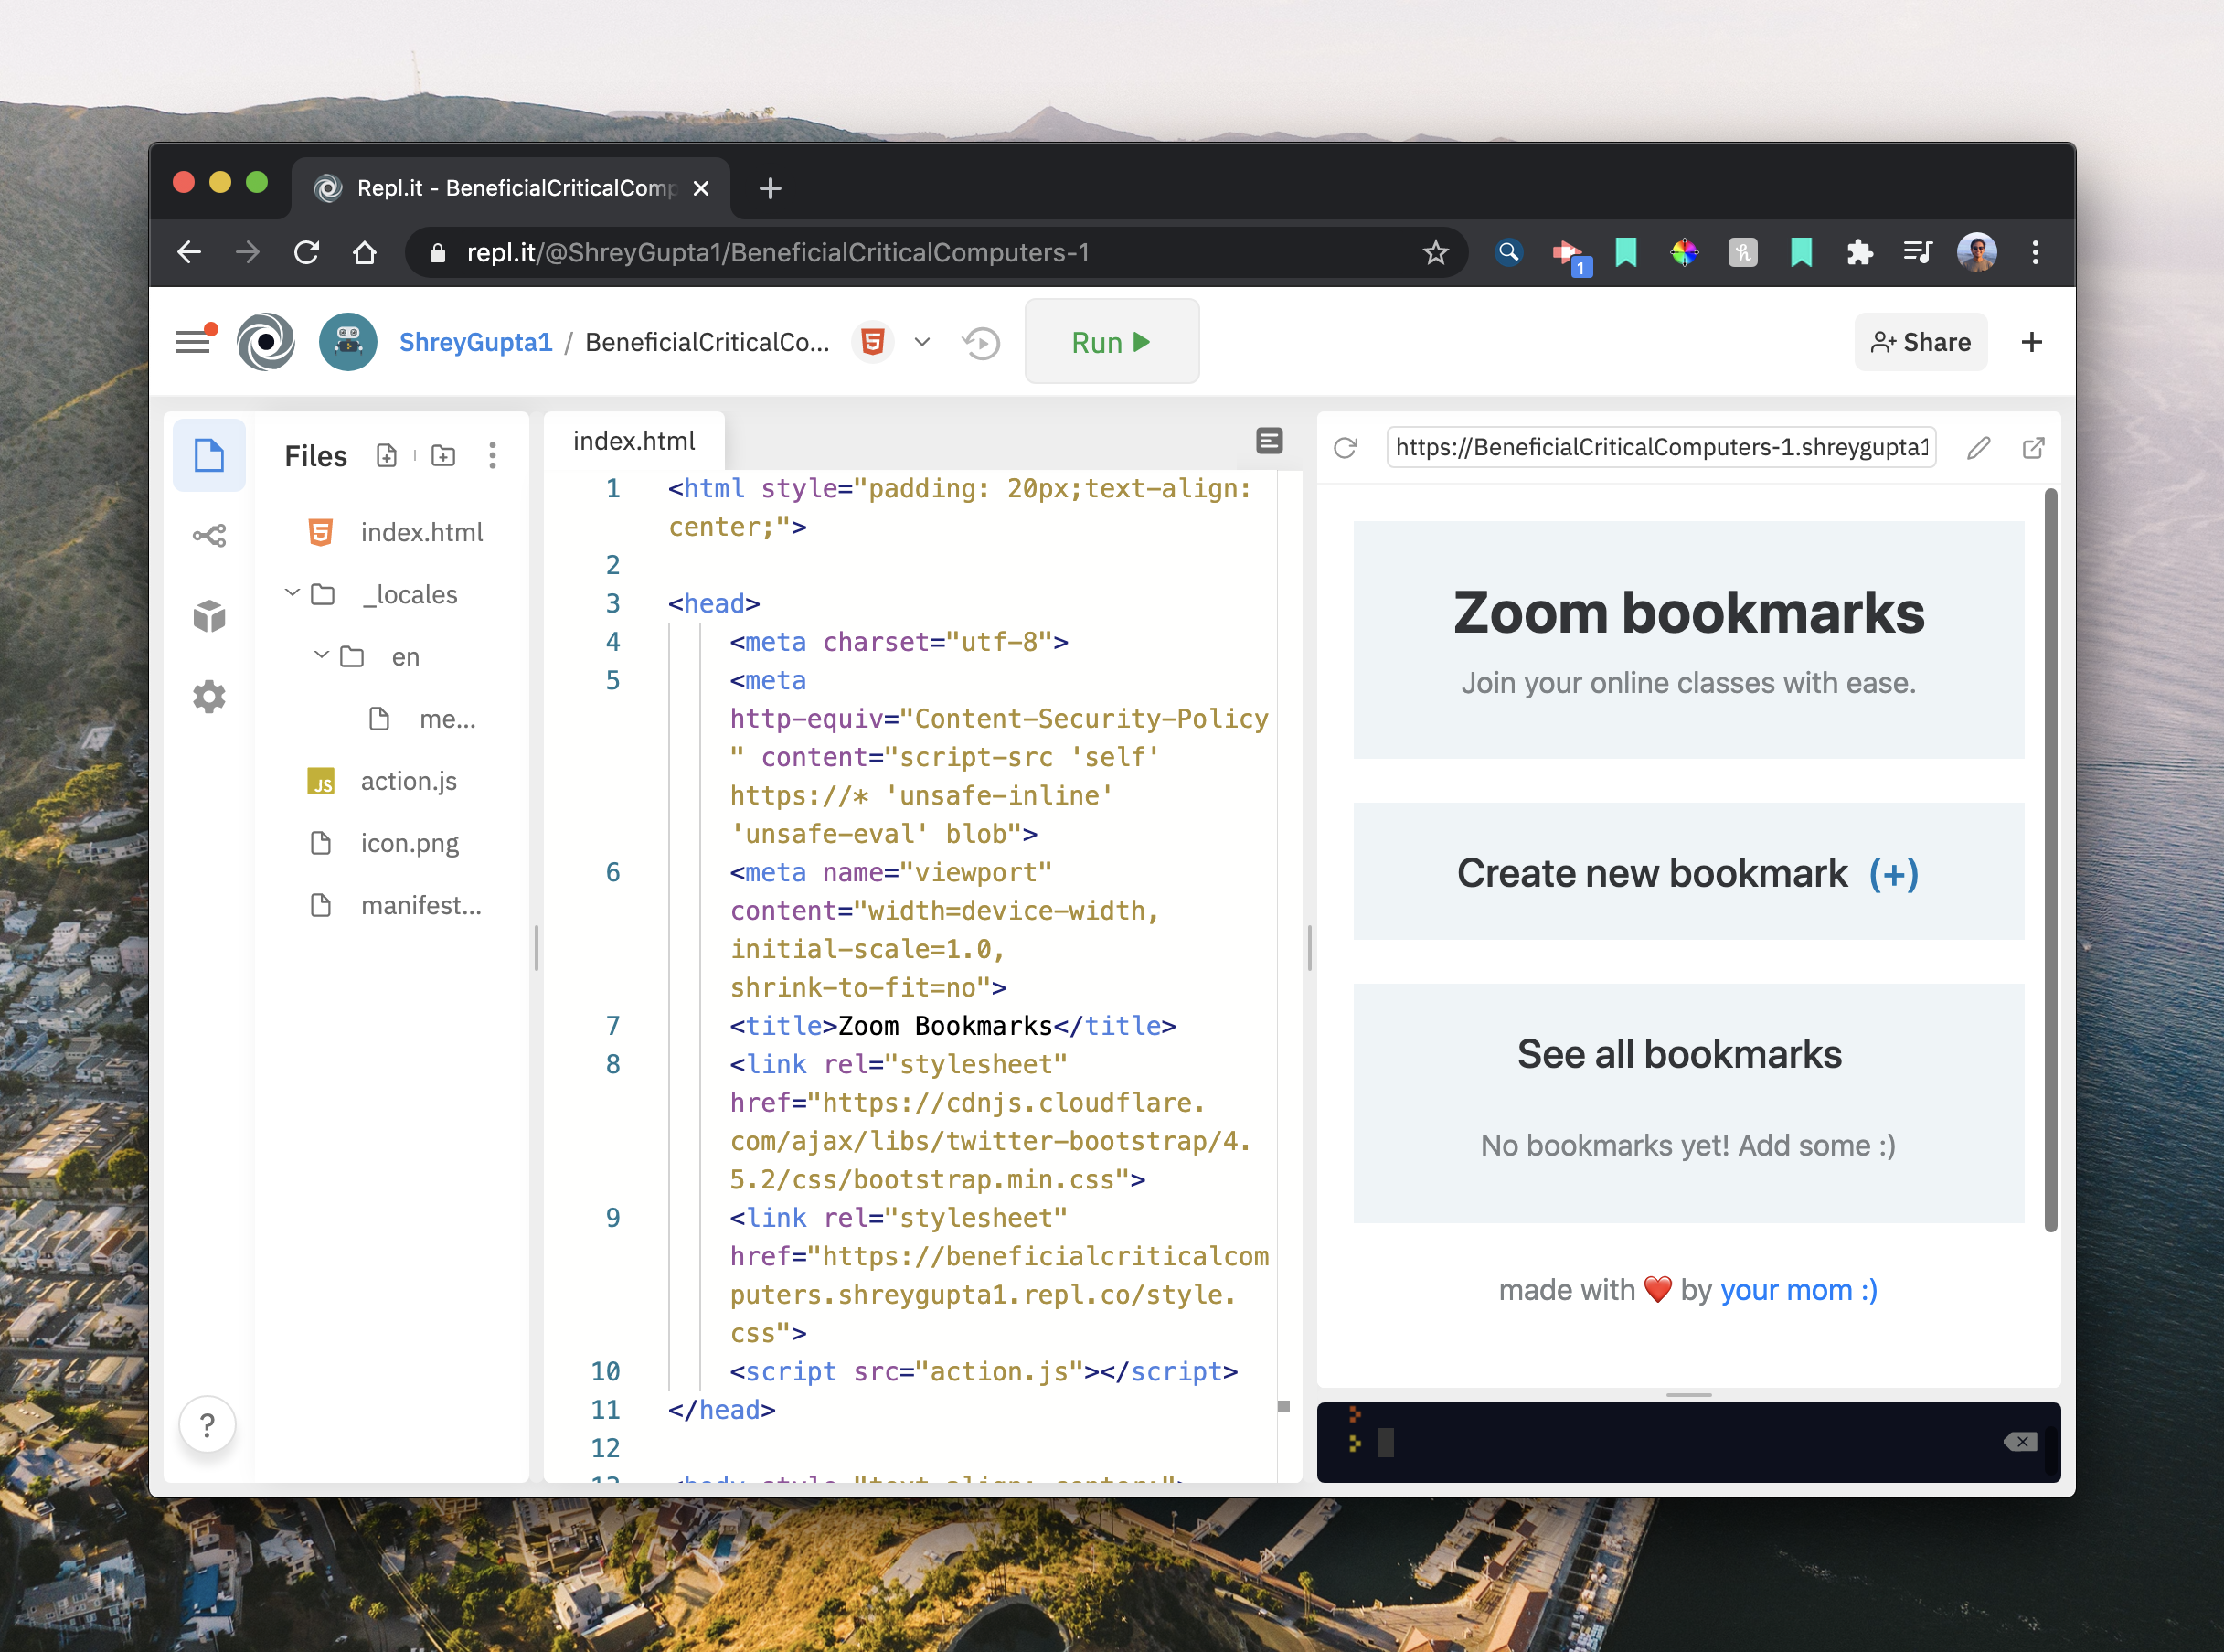
Now that you've finished the index.html code, we can start to work on the backend. If you need a snip of what the final code I wrote should look like, you can see this link: https://gist.githubusercontent.com/shreyfirst/04ea57ac3bb6db7b0a7db52881256932/raw/41749144bd561a9acca42309960592f4a7dead36/Zoom%2520bookmarks%2520demo
This is what everything should look like in Repl!
Backend
Our backend is inside of action.js.
Structure
Let's plan out what the backend is going to look like:
- Adding an element to the new bookmarks section
- Removing an element from the bookmarks section
- Having a popup for copy and pasting
- Function to copy onto the user's clipboard
- Open a meeting link in a new tab
- Waiting for a user to click a button
There are obviously other things we need to do with this app, but this is the main list of items we will be basing off the functions for. The rest will be formatting and fixing around. We will be using addEventListeners into the code pretty often. Event Listeners do exactly what they sound like, they listen for events in the code. This include button clicks!
Writing Functions
The first thing we need to write is an event listener that says: "when the content is loaded" - we don't want our other event listeners later to get confused because the page hasn't loaded yet. This will wrap our enter code
document.addEventListener('DOMContentLoaded', function () {

    // code here

});
We are going to need to create elements many times in this application. Elements are just more tags, but we add them programtically. Here is how to add and remove elements in code:
let elements = [];

function addElement(parentId, elementTag, elementId, html) {

    var p = document.getElementById(parentId);
    var newElement = document.createElement(elementTag);
    newElement.setAttribute('id', elementId);
    newElement.innerHTML = html;
    p.appendChild(newElement);

    elements.push(elementId)
    if (elements.length == 1) {
        document.getElementById('none1').style.display = "none";
    }


}

function removeElement(elementId) {
    let v = confirm("Are you sure you would like to delete this link?");
    if (v) {
        chrome.storage.sync.remove("" + elementId, function(result) {
            var elem = document.getElementById("" + elementId);
            elem.parentNode.removeChild(elem);
        });
        if (elements.length == 1) {
            document.getElementById('none1').style.display = "block";
        }

        const index = elements.indexOf(elementId);
        if (index > -1) {
            elements.splice(index, 1);
        }
    }

}
Now we need functions to popup and copy text:
let open1 = document.getElementById('open1');
let open2 = document.getElementById('open2');

function popup1(openQ) {
    if (!openQ) {
        document.getElementById("main").style.visibility = "hidden";
        document.getElementById("add").style.height = "75px";
        document.getElementById('open1').innerHTML = "(+)";
    } else {
        document.getElementById("main").style.visibility = "initial";
        document.getElementById("add").style.height = "425px";
        document.getElementById('open1').innerHTML = "(-)";
    }
}

function popup2(openQ) {
    if (!openQ) {
        document.getElementById("bookmarks").style.visibility = "hidden";
        document.getElementById('open2').innerHTML = "(+)";
    } else {
        document.getElementById("bookmarks").style.visibility = "initial";
        document.getElementById('open2').innerHTML = "(-)";
    }
}
popup1(false);

function copy(x, z) {
    let y = "" + x;
    //console.log(y)
    chrome.storage.sync.get(y, function(result) {
        //console.log(result[y])
        var textArea = document.createElement("textarea");

        if (z == 0) {
            textArea.value = result[y].meeting_link;
        } else if (z == 1) {
            textArea.value = result[y].password;
        } else if (z == 2) {
            textArea.value = result[y].password;
        }


        document.body.appendChild(textArea);
        textArea.select();
        document.execCommand("Copy");
        textArea.remove();

        if (z == 0) {
            if (result[y].password != 0) {
                alert("MEETING INFO Copied! You can paste it directly into ZOOM.\n\nIMPORTANT: The meeting password will be copied once you click 'OK'");
                copy(y, 2)
            } else {

                alert("MEETING LINK Copied! Use CRTL/CMD + V to paste the link in your browser.");
            }
        } else if (z == 1) {
            alert("The Zoom meeting should open once you press OK.\n\nIMPORTANT: The meeting password is copied and you can paste it into the prompt.");
        } else if (z == 2) {
            alert("PASSWORD Copied!");
        }

    });
}
// THIS IS WHERE YOU'LL START CODING IN THE NEXT STEP
Lastly, we need functions to open the link in a new tab and wait for buttons to be pressed. This Github Gist will help you create eventListeners for listening to button presses: https://gist.githubusercontent.com/shreyfirst/0da1748f048b931f8e9ac13223a50c0a/raw/e554eda21c75411713bf2ca5df96d5d7bd67d317/Final%2520code
- Read the comments on the Gist to understand what's happening. Start coding at the end of where you last finished.
This goes below everything you've coded so far and above the closing of the eventListener that houses once the page loads. These is a Gist to the final code: https://gist.githubusercontent.com/shreyfirst/d980597b6531fddd8d77cb8e63f6ffb3/raw/0d1b7ddffd7f97810998fe2c93d7a814f889562e/Full%2520code
Key takeaways:
- The data will not show up using the Chrome APIs because we are currently in the Repl enviornment, not a Chrome enviornment
- We validate what kind of input people can type in by checking if they entered a link or their Zoom ID correctly
- On every new open, we give them a
version messagewelcoming them or telling them about a new feature.
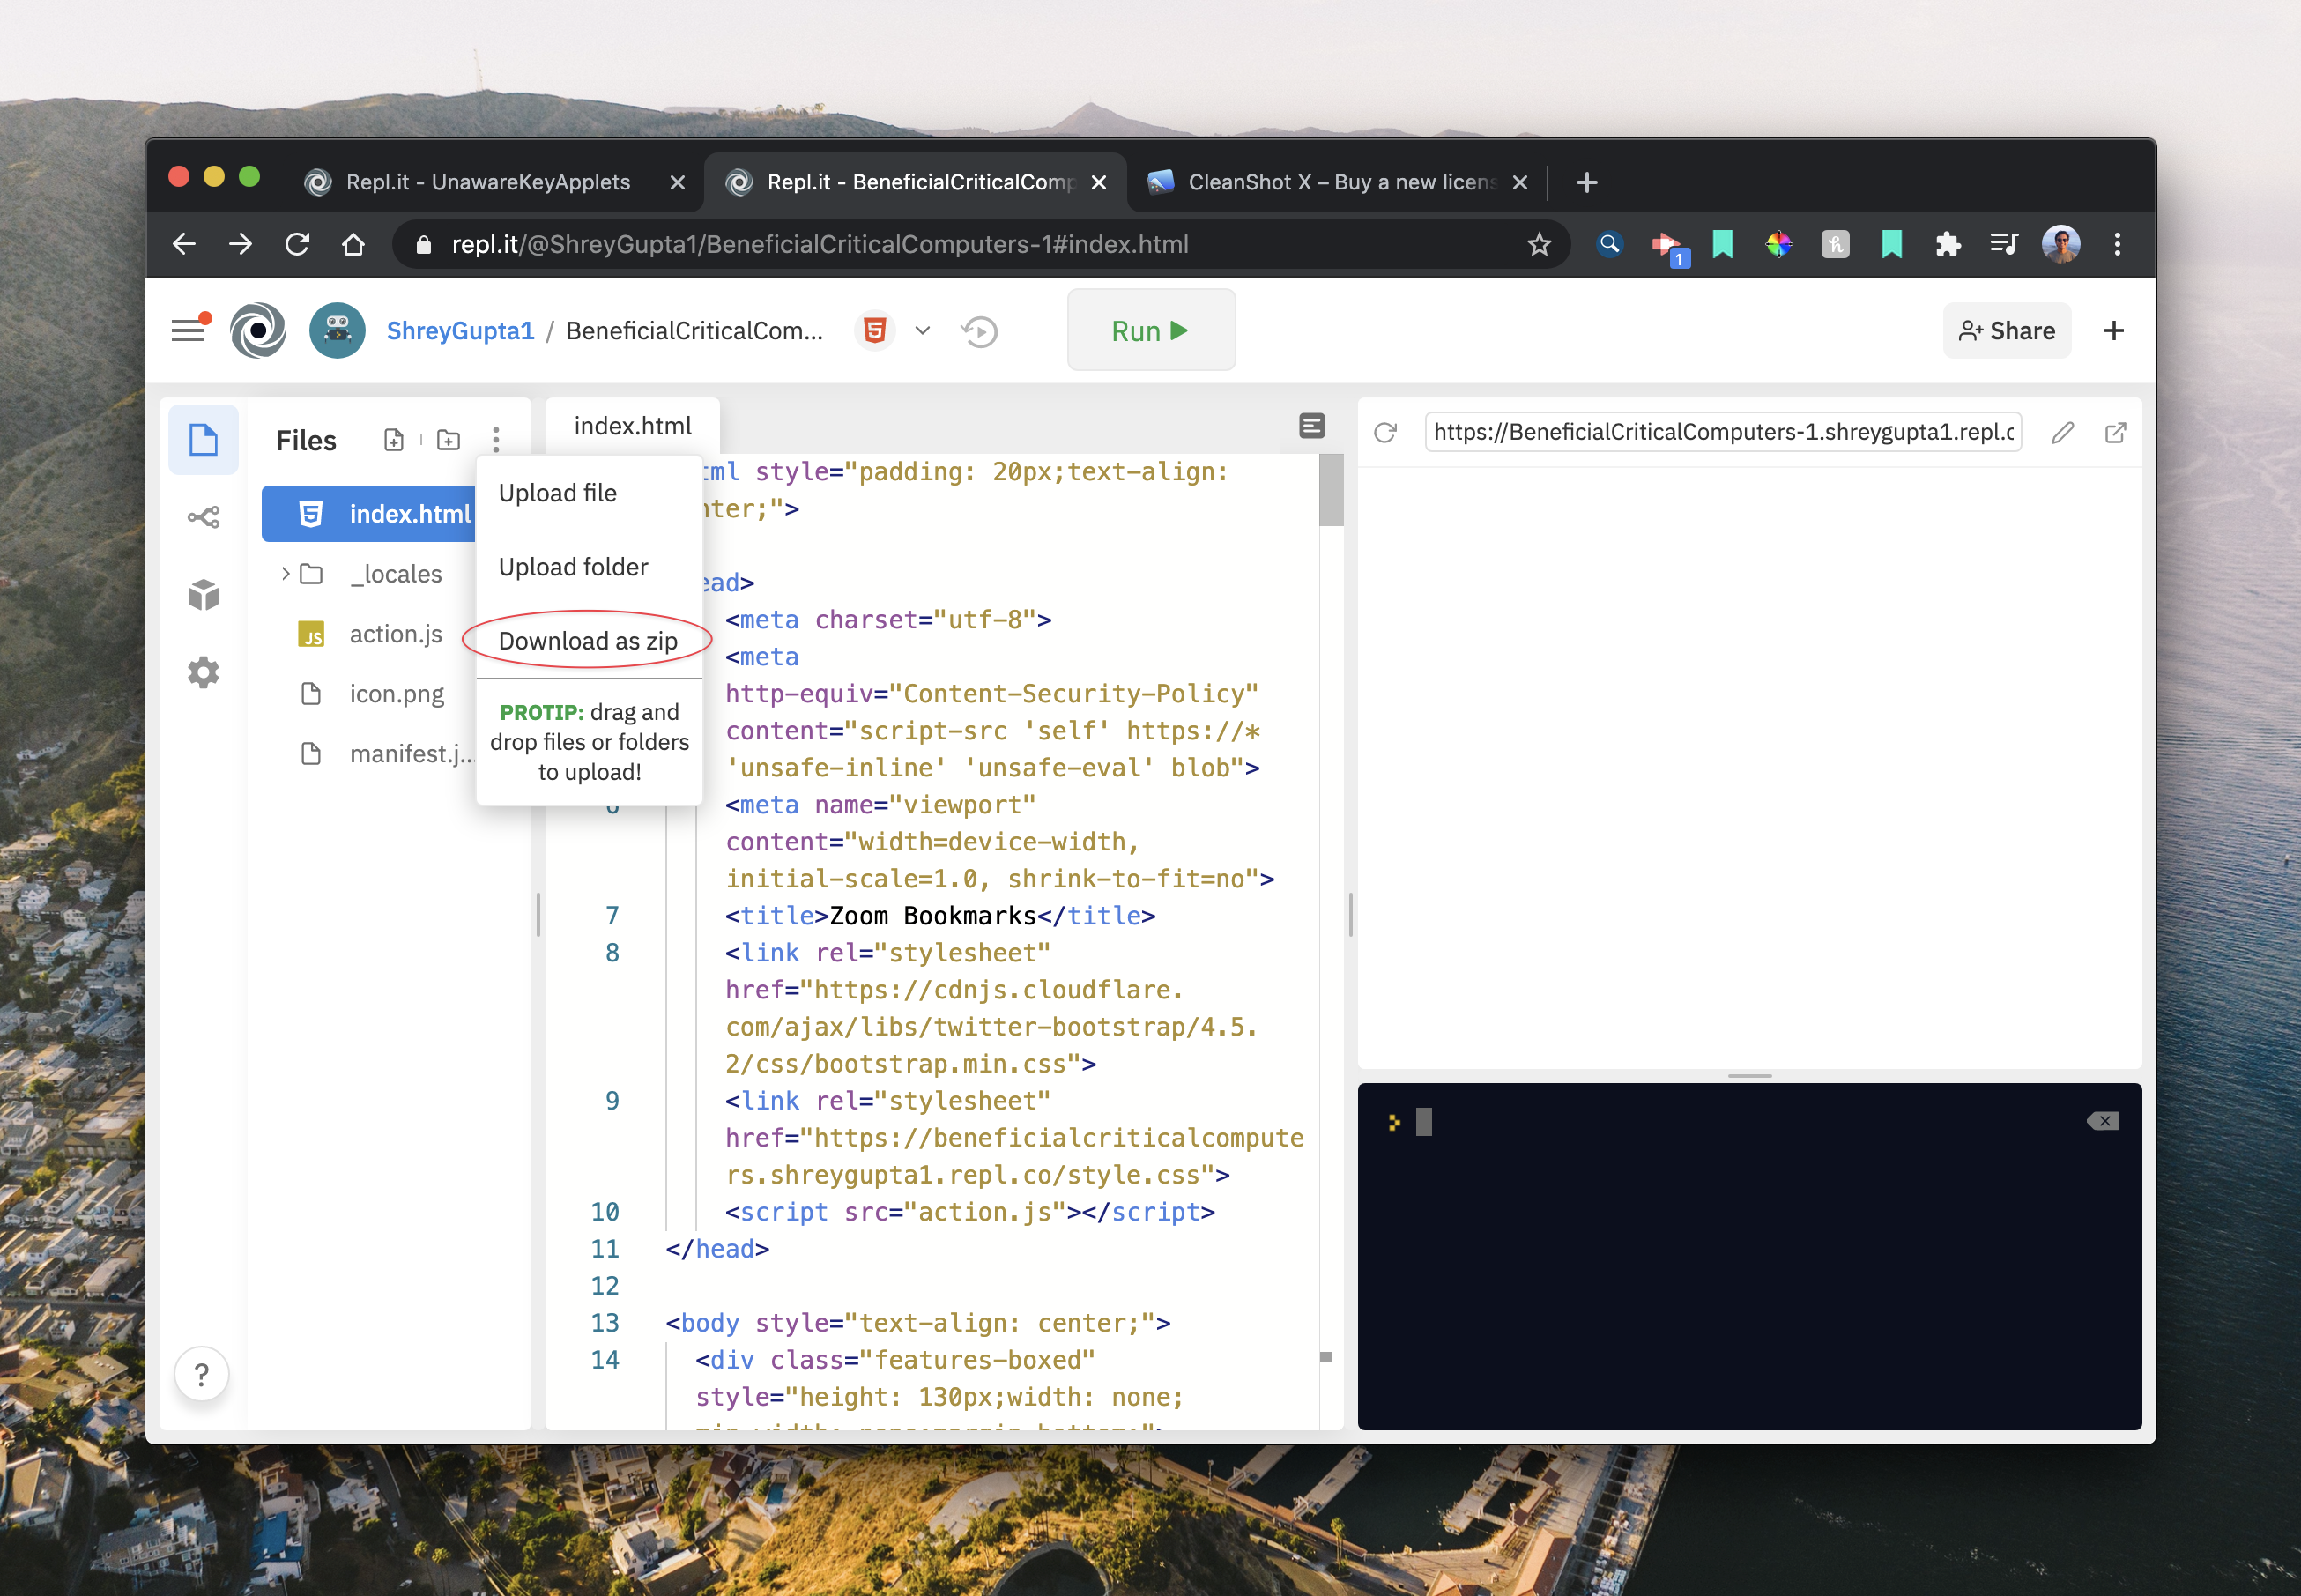
Testing your extension!
Chrome allows developers to test out their extensions to see if it works. Follow these steps to test your extension:
- Download your Repl as a ZIP file.
- Unzip your file.
- Depending on if you are on a Windows or Mac (or even possibly a Chromebook), there are different ways to UNZIP a file.
- Go to chrome://extensions/
- Enable Chrome Developer Mode
- Click
load unpacked extension. - Choose the file directory for your extension
- Now your extension should show up in the extensions pane!
Extending the extension
See what I did there ;) I want you to try taking this extension further. Try building upon what we build in this workshop by doing some of the following challenges:
-
When you open a Zoom launch window, you may have noticed something: the page stays open forever. At the end of the day after multiple online classes, you have to close all the "join meeting" launch windows and it starts to get busy, right? Try building on your knowledge of Zoom extensions by closing the window automatically
- Demo: https://chrome.google.com/webstore/detail/zoom-bookmarks/haplbihlmhnffbihdfjhgnickameiphd?hl=en
- This is the live demo I mentioned at the start of this workshop. If you want the code for this, see this Github repo: https://github.com/shreyfirst/zoom_bookmarks
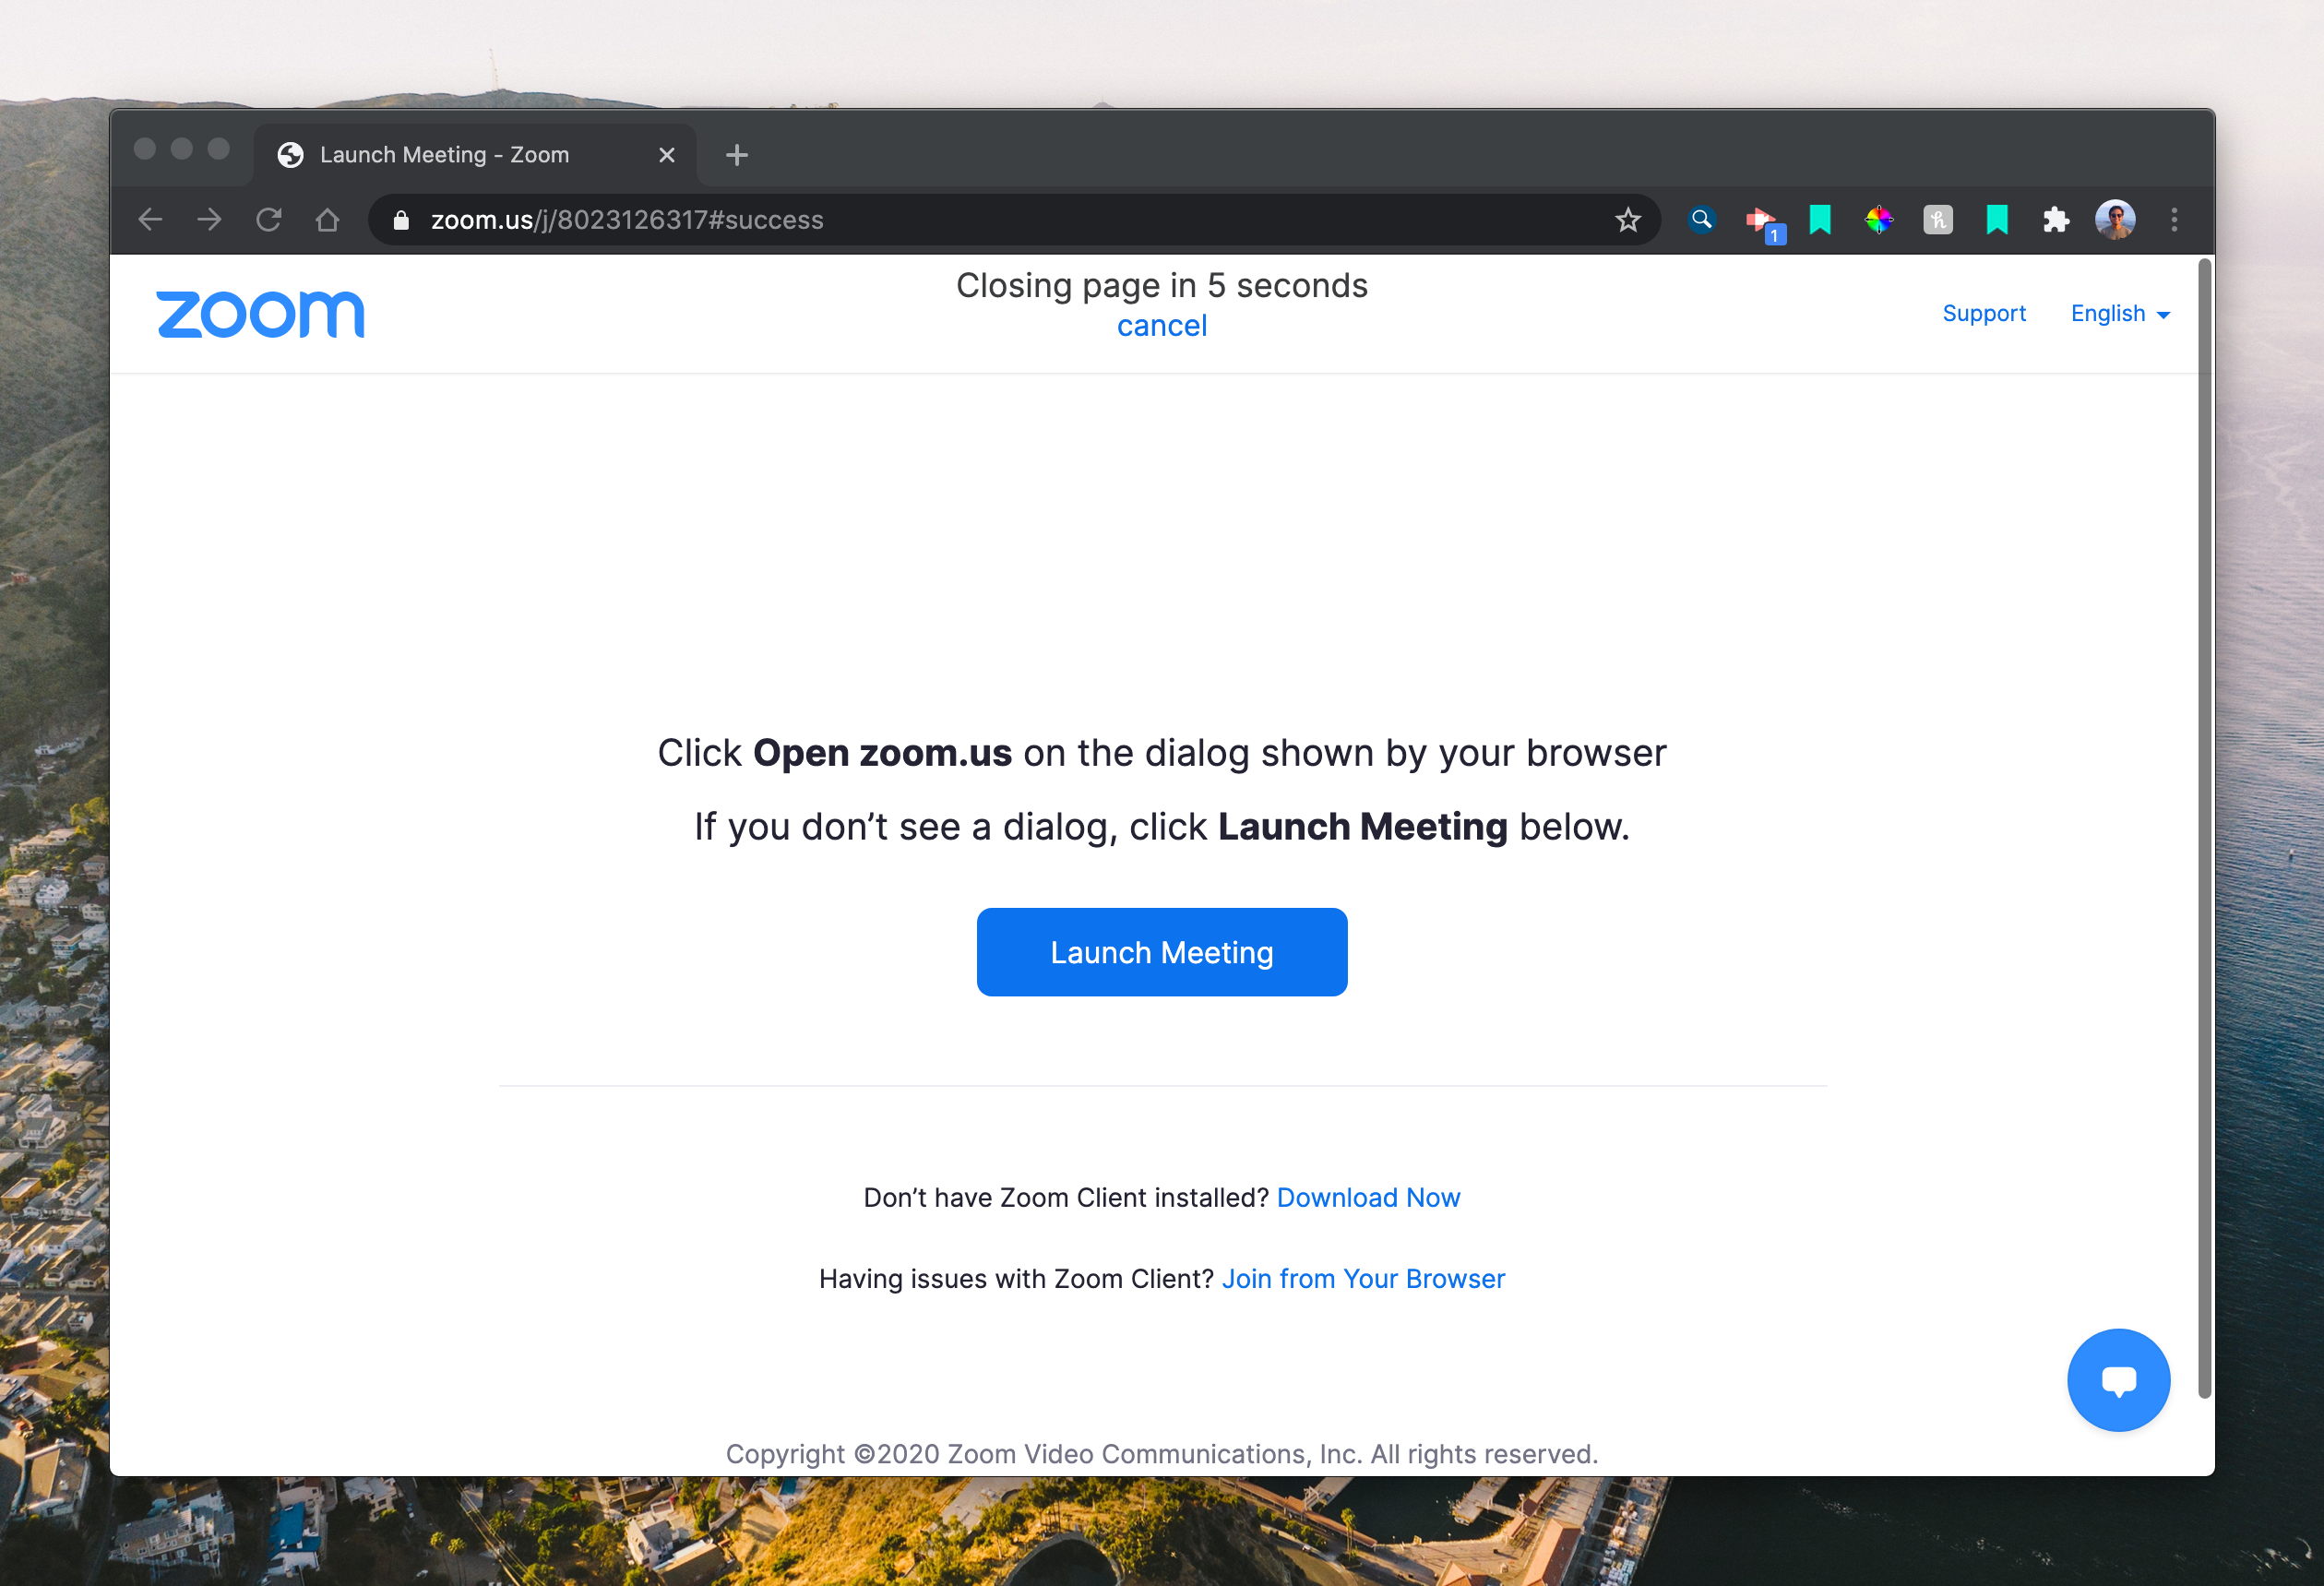
This feature was inspired by this (existing) Chrome extension: https://chrome.google.com/webstore/detail/zoom-meetings-page-auto-c/edflihlonecjkejpbajecilgmopegldj?hl=en-US
-
Try building a feature where you can enter what time you want your Zoom links to open! This could be helpful for scheduled meetings, so you don't forget to open the meeting.
- This will further teach you how to handle different types of user features. Some of examples of what you would need to handle:
- Different types of time/date inputs
- If they already opened the Zoom meeting
- Constant invalid Zoom meeting links
- This will further teach you how to handle different types of user features. Some of examples of what you would need to handle: