

You may have heard about movie Easter Eggs or video game Easter Eggs before, but have you ever heard about website Easter Eggs? The internet is filled with copious amounts of weird and wonderful hidden features!
If you don't know what they are, check out these cool easter eggs/Konami Codes on the internet:
-
Try searching 'do a barrel roll' on google.
-
Try inspecting Max's Website 🤨
-
Konami Code On BuzzFeed (Just press up, up, down, down, left, right, left, right, B, A and enter on the homepage).
-
In the Firefox browser bar, type "about:mozilla" or "about:robots" to see the secrets of Mozilla.
Well, by now, you must have known what a Konami Code is. How about we build our own Konami Code?
Here's the demo of what we'll be building:
Here's the live demo and the source code.
Part 1: Prerequisites
You should have a beginner understanding of HTML, CSS, and JavaScript.
You should also know the basics of Arrays.
Part 2: Setup
Setting up your code environment on Repl.it
Repl.it is an online code editor. You don't have to use Repl.it but I suggest you do as it sets everything up for you and you don't require any installations.
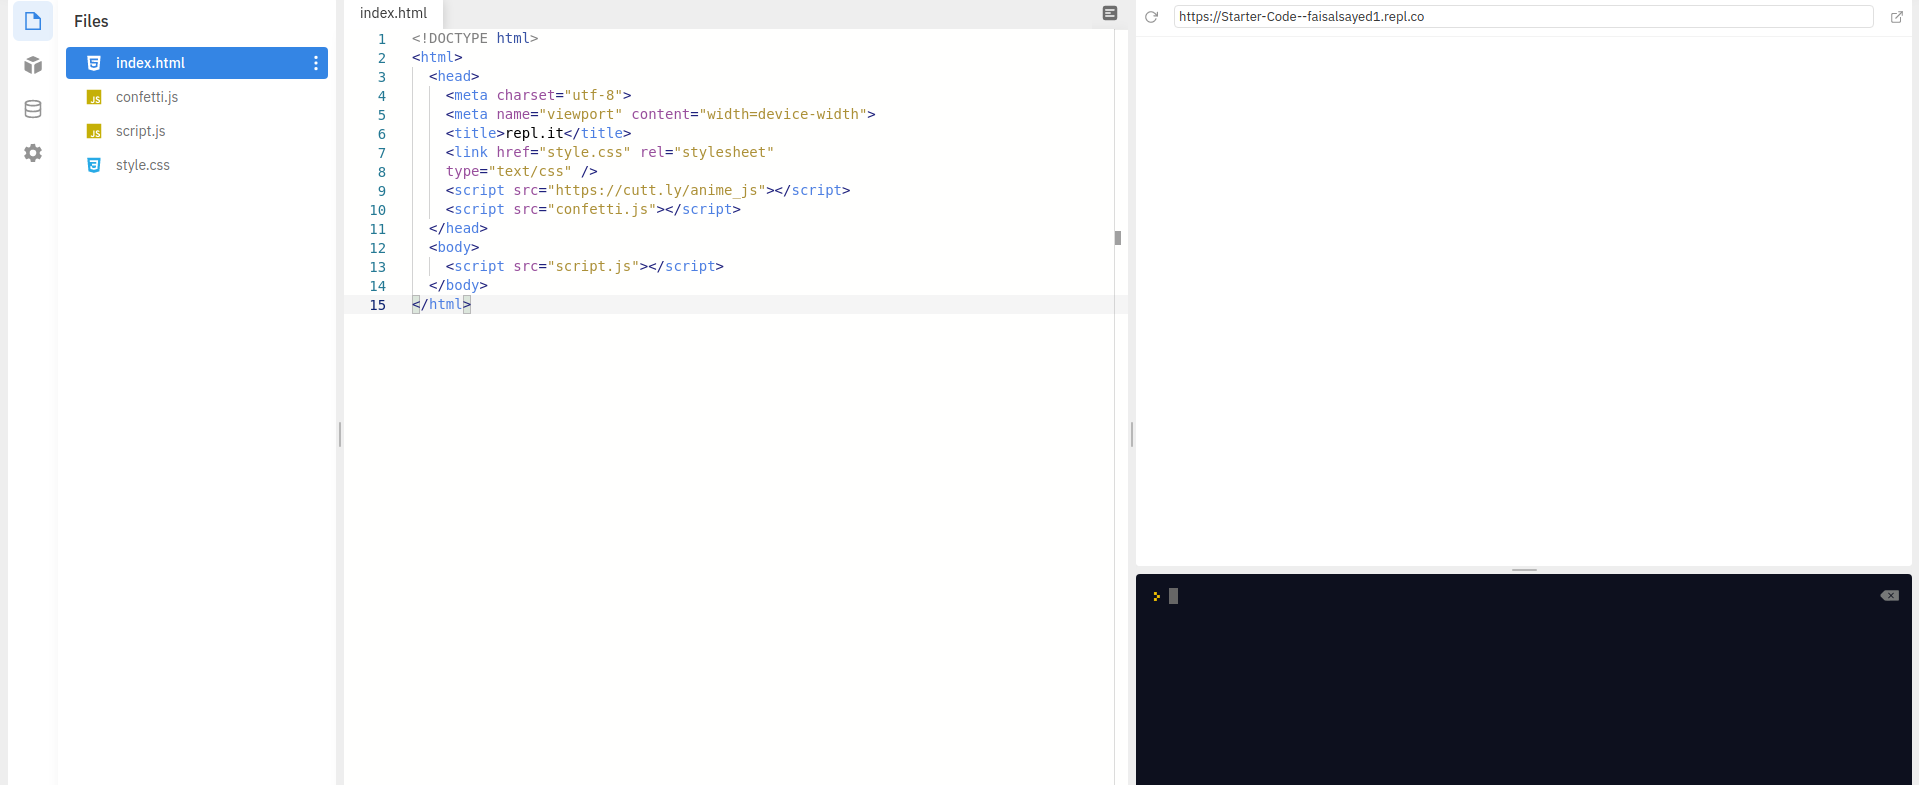
To get started, go to this starter code. Now you'll see a 'fork' option on the top. Click it and your coding environment will spin up in just a few seconds!
You should see something like the following:
Part 3: Building the project
1) HTML
Let's start writing the HTML code required in the index.html file.
The starter code contains the two libraries, confetti.js and anime.js already installed and imported for you!
Add some basic HTML code inside of our <body> tag.
<canvas id="my-canvas"></canvas>
<h1 class="text">Password Please</h1>
<div class="secret-div">
  <h1>Hello comrade!</h1>
</div>
Note: Make sure the <script> tag, which is in your body, is just above the closing </body> tag and whatever code you write in the <body> should be above that <script> tag or else it will throw you errors.
Explanation: We are adding a canvas element which will be later used for the confetti. Then there is also a secret-div which will be hidden but when someone types the Konami Code, we'll make it visible.
We are done with our HTML and here is our final code:
<!DOCTYPE html>
<html>
  <head>
    <meta charset="utf-8" />
    <meta name="viewport" content="width=device-width" />
    <title>repl.it</title>
    <link href="style.css" rel="stylesheet" type="text/css" />
    <script src="https://cutt.ly/anime_js"></script>
    <script src="index.min.js"></script>
  </head>
  <body>
    <canvas id="my-canvas"></canvas>
    <h1 class="text">Password Please</h1>
    <div class="secret-div">
      <h1>Hello comrade!</h1>
    </div>
    <script src="script.js"></script>
  </body>
</html>
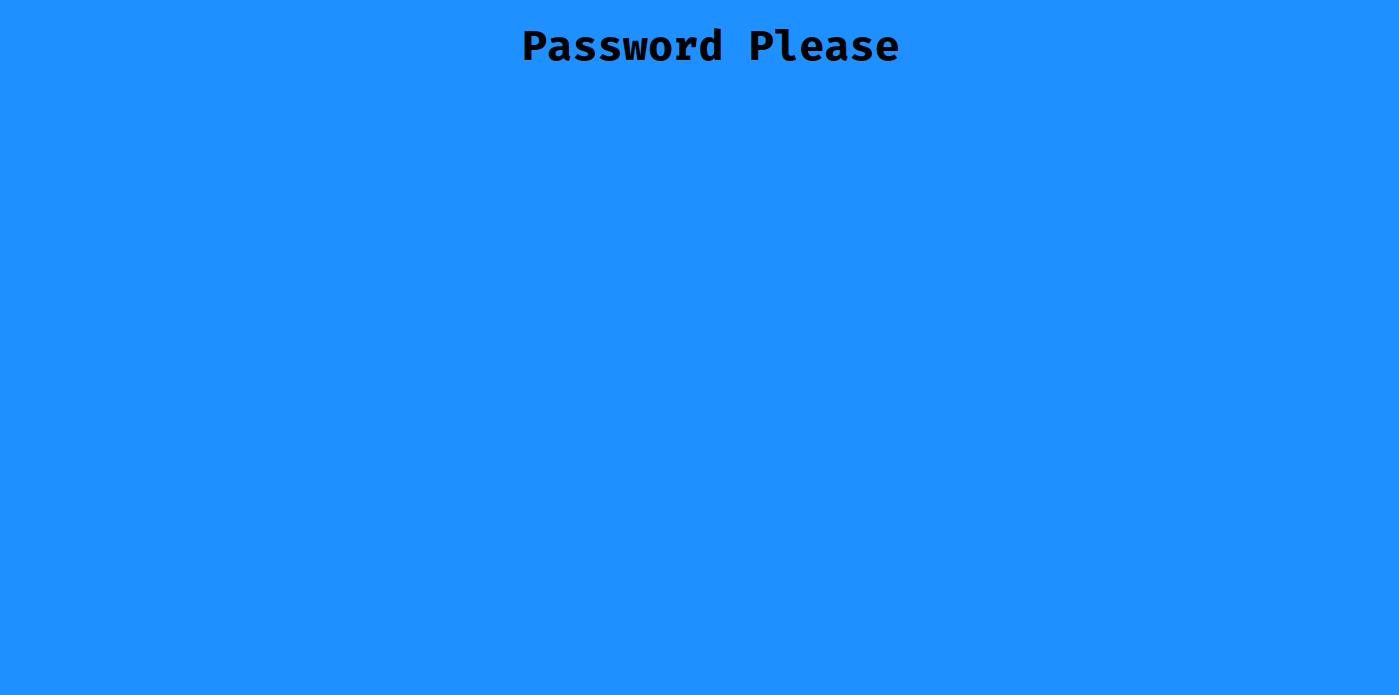
Here is what you will see on clicking 'RUN'

2) CSS
We need to hide our secret-div right? Also, our website doesn't look very good. Go to style.css and let's add some styles now.
body {
  background-color: dodgerblue;
}

.text {
  text-align: center;
  font-size: 42px;
}

.secret-div {
  text-align: center;
  padding-top: 10rem;
  display: none;
}

#my-canvas {
  position: absolute;
}
Explanation: Everything here is just some simple CSS. Also, we make the secret-div invisible by giving it a display: none; property. We give position: absolute; to the <canvas> element so that it appears on the whole screen.
This is what your website will look now:
We are done with our CSS and we'll now start writing JavaScript to implement the main functionality.
3) JavaScript
Go to your script.js file. First let's link the HTML elements to JavaScript. Type the following code:
const text = document.querySelector('.text')
const secretDiv = document.querySelector('.secret-div')
Explanation: We linked the <h1> and also the secret-div to the two variables text and secretDiv respectively using const.
What is querySelector()? The querySelector() method returns the first element that matches a specified CSS class(s) in the document.
Learn more about query selector.
Now we will declare two arrays. The first array will contain all the keys pressed by the user and the second array will contain the keys which will be the Konami Code.
const keys = []
const secretCode = ['h', 'a', 'c', 'k']
Here, the secretCode array contains the keys which will be the Konami Code. For this workshop's sake, our code will be "hack". You can change it to anything you like. Here are some examples:
['ArrowUp', 'ArrowDown', 'ArrowLeft', 'ArrowRight']
['ArrowUp', 'a', 'ArrowLeft', 'z', 'ArrowDown']
['Shift', 'Control', 'Enter', 'b']
['a', 'a', 'b', 'b', 'c', 'd', 'e', 'ArrowLeft']
Next, we will make use of the confetti.js library which we have imported in our project. We will first declare some settings for the confetti. After we declare them, we will create a new ConfettiGenerator object which will help us implement the confetti on the site.
const confettiSettings = { target: 'my-canvas', size: 1.4, max: 150 }
const confetti = new ConfettiGenerator(confettiSettings)
Explanation: The settings for the confetti is an object, using this library called Confetti.js. There are many more options which you can pass to the settings as you wish.
- The
targetattribute is used to specify the canvas with the idmy-canvason which the confetti will appear. - The
sizeattribute specifies the size for the confetti particles. - The
maxattribute specifies the number of props(confetti) to be rendered.
The ConfettiGenerator contains a render() method and when it is called, we will be able to see confetti on our page.
For more information on these attributes, check here.
Your code so far:
const text = document.querySelector('.text')
const secretDiv = document.querySelector('.secret-div')

const keys = []
const secretCode = ['h', 'a', 'c', 'k']

const confettiSettings = { target: 'my-canvas', size: 1.4, max: 150 }
const confetti = new ConfettiGenerator(confettiSettings)
Next we will implement a function to check which keys are pressed by the user and when the keys match our Konami Code, it will get triggered.
The function will take an 'event' attribute which will give us the key pressed by the user.
function keysDetector(e) {
  console.log(e.key)
}
Outside the function, we will add an event listener on the window which will listen for all the keyup events and then trigger a particular function. It is written as follows:
window.addEventListener('keyup', keysDetector)
Explanation: addEventListener() takes the first parameter as the event of which we need to keep track of. In our case it is the keyup event. The second parameter is a function which will get called whenever the event specified to it is performed. So whenever the keyup event is performed, the keysDetector function gets called.
Learn more about addEventListener().
'RUN' this code, click on the preview window once so that it gets focused and then try typing any keys. Keep a watch on the console!
Voila! The keys pressed by the user is getting logged! We will make use of these keys to check whether the keys match the Konami Code.
Code so far:
const text = document.querySelector('.text')
const secretDiv = document.querySelector('.secret-div')

const keys = []
const secretCode = ['h', 'a', 'c', 'k']

const confettiSettings = { target: 'my-canvas', size: 1.4, max: 150 }
const confetti = new ConfettiGenerator(confettiSettings)

function keysDetector(e) {
  console.log(e.key)
}

window.addEventListener('keyup', keysDetector)
Remember we declared a keys array? Can you recall what was its purpose?
Yes exactly! It will keep track of the keys pressed by the user. Now, we don't only need the keys to get console logged but we will also store the keys in this array.
Challenge: Can you try to store all the keys pressed by the user in the keys array? (the code should be inside the function)
Hint: Array.push() method adds one or more elements to the end of an array.
Here's how to do it:
keys.push(e.key)
Try console logging the keys array inside the function. RUN the code and try pressing the keys. You'll see the keys getting pushed inside the array!
Note: Make sure your preview window is focused when you are pressing the keys.
We don't need the keys array to get bigger and bigger. We definitely need a limit, right? That limit will be the length of our secretCode array. Whenever the number of keys exceed the length of secretCode array, we will remove the first element of the keys array.
Here's how you will do it:
function keysDetector(e) {
  // all the above code

  if (keys.length > secretCode.length) {
    keys.shift()
  }
}
Explanation: Just like Array.push() there is also a method Array.shift() which removes the first element from an array! Here we implement the code such that, whenever the keys array's length exceeds the secretCode array's length, we remove its first element. So, in that way, the number of keys stored in our array is fixed.
Try console logging the keys array now (inside the function) and you'll get a better understanding of the above code.
Learn more about Array.push.
Learn more about Array.shift.
And now, the time has come! We will compare both the arrays and whenever keys === secretCode we will do some magic!
But wait a minute...
Unfortunately, we can't simply write keys === secretCode and get away with it :( The reason for this is as arrays are objects in JavaScript, the triple equals operator (===) only returns true if the arrays are the same reference.
Example:
const a = [1, 2, 3]
const b = [1, 2, 3]

a === a // true
a === b // false
So, we'll need to go another way which is known as... JSON.stringify()!
The JSON.stringify() method will convert a JavaScript object or value to a JSON string. So, we will first convert both the arrays to a string and then, we are free to compare it!
Here's how to do it:
if (JSON.stringify(keys) === JSON.stringify(secretCode)) {
  //do something or lets just console.log for now.
  console.log('TADAAA!!')
}
Note: This will also be included in the function. Except for the event listener, nothing is outside the function.
RUN the code and try typing the secret code which you have given (it is "hack" in my case). You'll surely see a TADAAA!! in the console whenever the arrays match each other.
Okay, so now we are sure that our code works perfectly! So, instead of console logging, we will make some pretty changes to our website.
First of all, we'll make our secret-div visible. Then we'll change the text from 'Password Please' to 'Identity Verified'. And not to forget, we'll also render confetti on our page.
Challenge: Can you do this all on your own?
Note: Do it inside the if statement and also remove the console.log().
Hints:
- The first task can be accomplished using something like:
ELEMENT.style.display = 'displayType'
We have already defined a variable for the secret-div. I think you need to use that... maybe... I don't know... Try it yourself...
- The second task can be accomplished using something like:
ELEMENT.innerHTML = 'textYouNeedToDisplay'
- And the method of doing the third task was told to you during the workshop, try to recall it and implement it!
Answer:
function keysDetector(e) {
  // all the above code

  if (JSON.stringify(keys) === JSON.stringify(secretCode)) {
    secretDiv.style.display = 'block'
    text.innerHTML = 'Identity Verified!'
    confetti.render()
  }
}
RUN the code and see what you have built! But wait, this is definitely not over. If you remember, we had also added the anime.js library in our HTML. Time to use it!
Using anime.js in our code is as simple as calling the anime() function in our code! But the function needs an object as a parameter and just like the confetti settings, we also need to add settings to this object.
Here's how to do it:
function keysDetector(e) {
  // all the above code
  if (JSON.stringify(keys) === JSON.stringify(secretCode)) {
    // all the above code
    anime({
      targets: 'body',
      rotate: '1turn',
      backgroundColor: '#fcba03',
      duration: 2000,
    })
  }
}
Explanation: In the parameter of the anime() function, the first value is the target on which the animation will get played on. Then we give it a rotation value of 1turn. We also change the background color to something else and the duration is set to 2000ms i.e 2secs.
If you want to play around with the animation, Here is the documentation on how to use it.
This is the final code:
const text = document.querySelector('.text')
const secretDiv = document.querySelector('.secret-div')

const keys = []
const secretCode = ['h', 'a', 'c', 'k']

const confettiSettings = { target: 'my-canvas', size: 1.4, max: 150 }
const confetti = new ConfettiGenerator(confettiSettings)

function keysDetector(e) {
  console.log(e.key)
  keys.push(e.key)

  if (keys.length > secretCode.length) {
    keys.shift()
  }

  if (JSON.stringify(keys) === JSON.stringify(secretCode)) {
    secretDiv.style.display = 'block'
    text.innerHTML = 'Identity Verified!'
    confetti.render()
    anime({
      targets: 'body',
      rotate: '1turn',
      backgroundColor: '#fcba03',
      duration: 2000,
    })
  }
}

window.addEventListener('keyup', keysDetector)
And we have built our own Easter Egg for our website!
Try to type the Konami Code which you have specified on the website and see the magic!
Part 4: The End
If you haven't created an account on repl.it, make sure you do so to save this wonderful creation!
If you face any difficulties in signing up, watch this.
Now it is up to you! Do anything with this project, try to implement an easter egg similar to this in your other websites!
Check out these crazy examples!
Check out what other Hack Clubbers have built!
Now that you have finished building it, you should share your beautiful creation with other people! Remember, it's as easy as giving them your URL!
You probably know the best ways to get in touch with your friends and family, but if you want to share your project with the worldwide Hack Club community there is no better place to do that than on Slack.
- In a new tab, open and follow these directions to signup for our Slack.
- Then, post the link to the
#scrapbookchannel to share it with everyone!