

In this workshop we will be making a small web based IDE. This is going to be a really cool project that you can show to your friends and other Hack Club members.
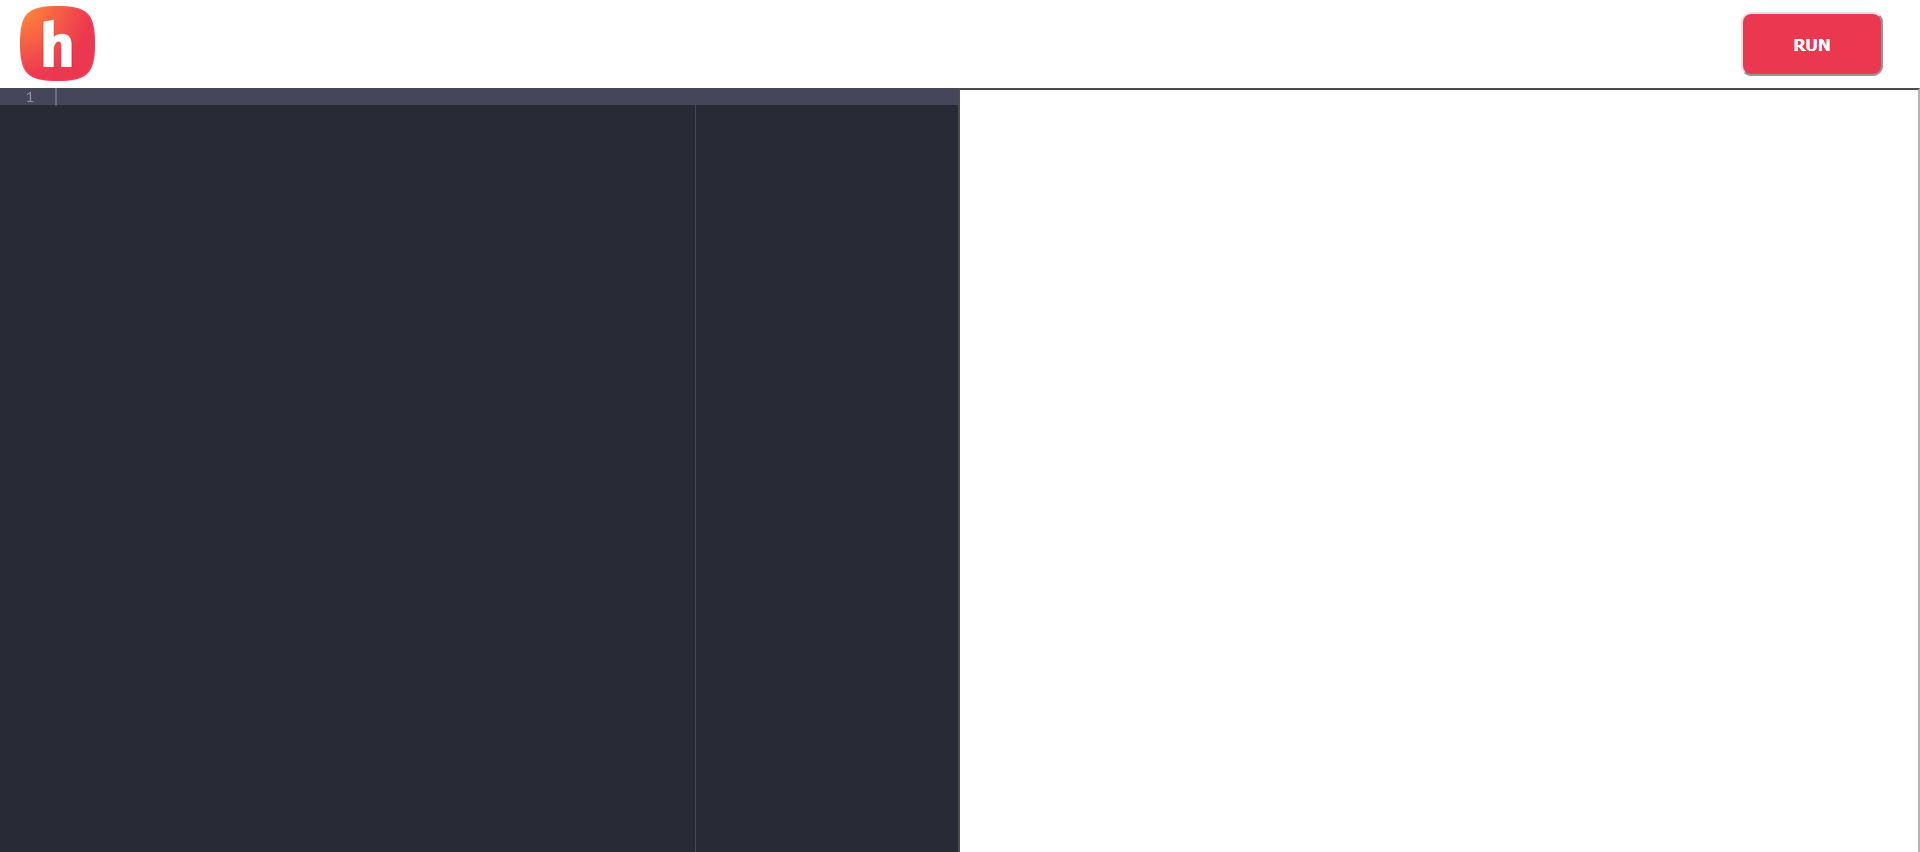
This is what it will lool like:
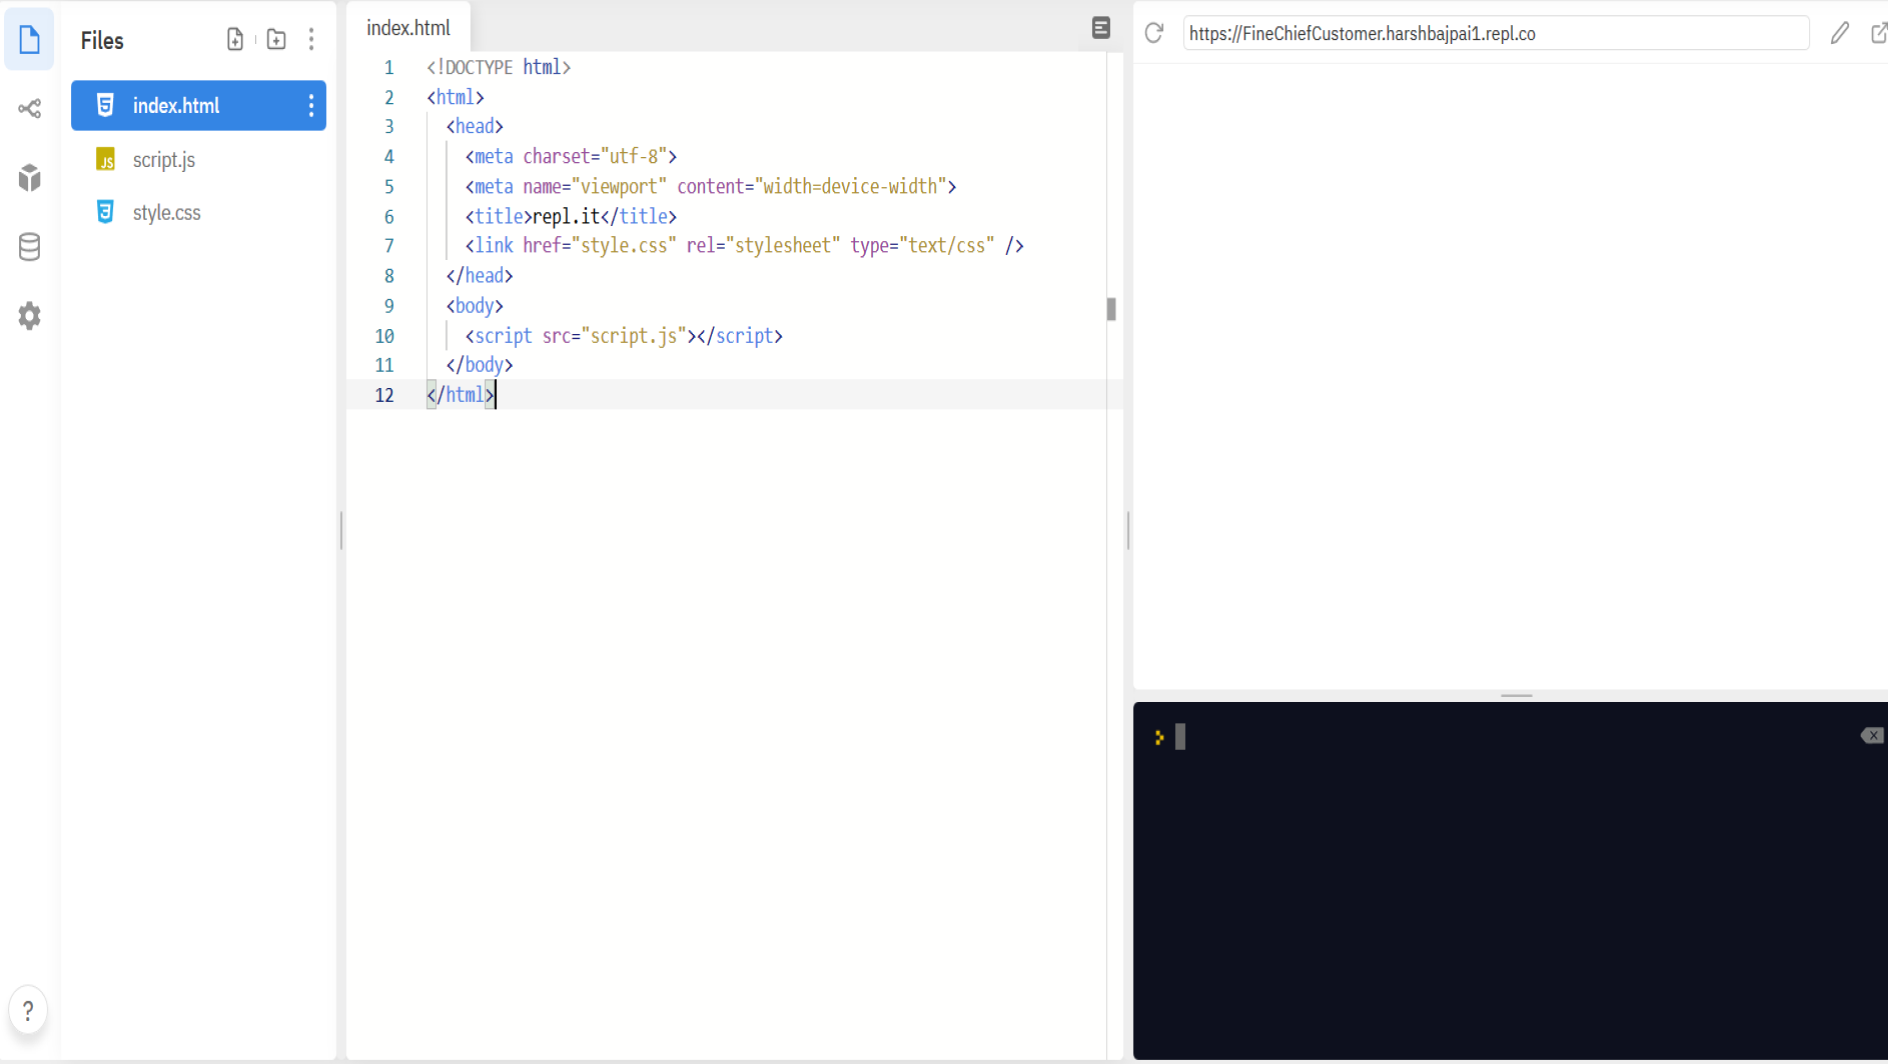
To see a live of demo of what you will be making visit this link and click on the RUN button to see the magic!
This link is to the final code. If you are stuck at any point then you can take help from this repl.
Prerequisites
The workshop is for anyone familiar with:
- HTML
- Javascript
- CSS ( basics + Flexbox )
You just need to have a basic understanding of them to follow along in this workshop.
Setup
We will be using Repl.it in this workshop. It is an online coding tool and is really easy to use.
We will be using HTML,Javascript and CSS in this workshop. To get started go to https://repl.it/languages/html. This will spin up a coding environment for you!
Layout
This is what the layout of the IDE is going to look like:
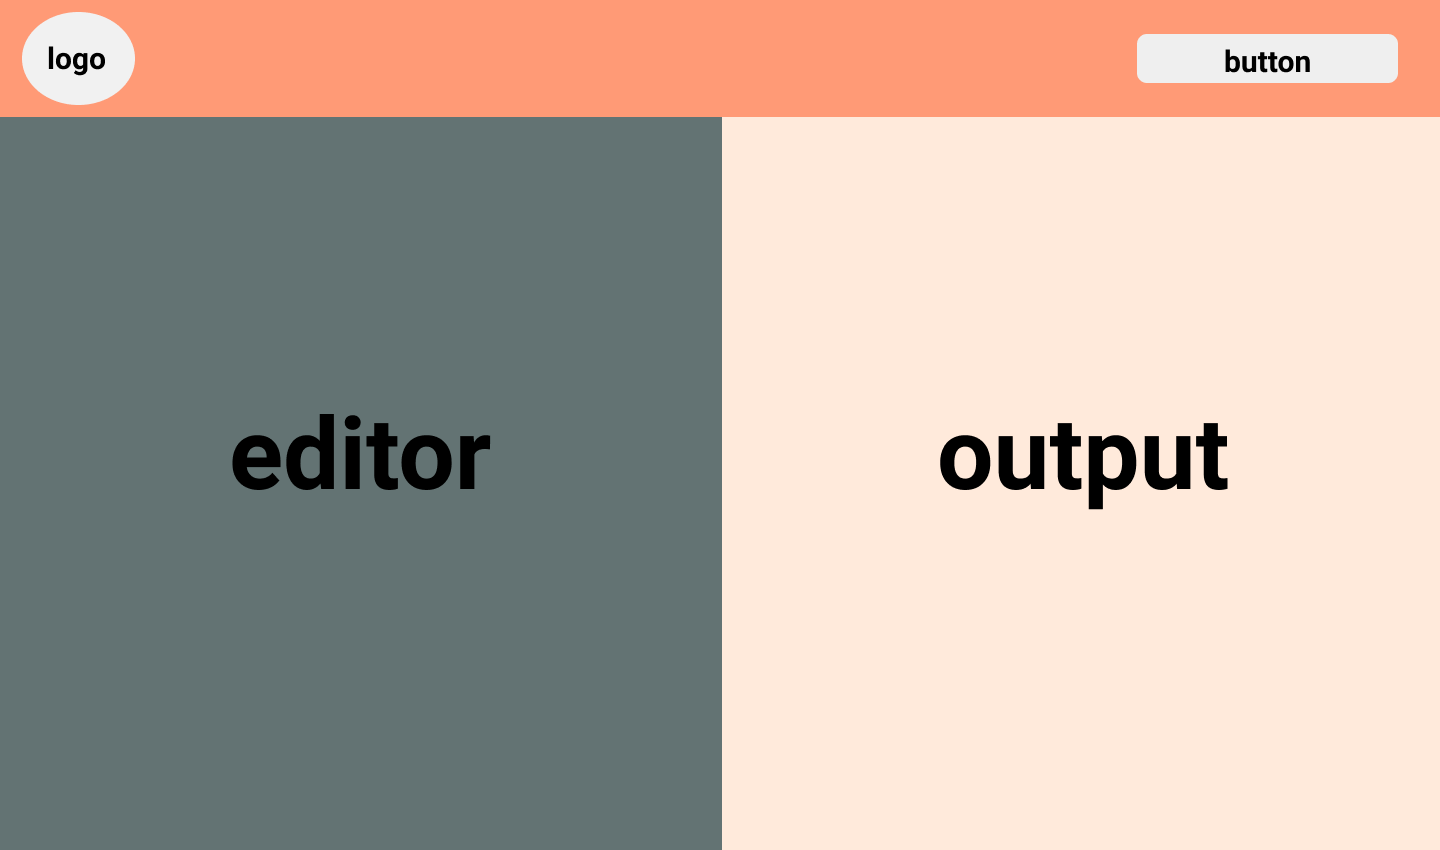
We will be using Flexbox to implement this layout. This is an awesome resource to get started with Flexbox.
Making The Header
Now we will start by making the header for our application. We will define its structure in the index.html file and then we will style it in the style.css file.
Remember HTML is for defining the structure of your website while CSS is for styling it.

Working with index.html
Your index.html file already has some HTML code written in it make the following changes in it.
Changing the <title> tag
The <title> tag has name repl.it, this is the name which will show up on the tab of your browser when you open your website ( for our project it will be seen when we will open it in a new tab )
Change it to Hack IDE from repl.it.
<title>Hack IDE</title>
Adding <header>
Now we will define the structure of the header in index.html file. Add the following HTML between your <body> tag before the already existing <script> tag .
<header>
  <div id="logocontainer">
    <img
      id="logo"
      src="https://raw.githubusercontent.com/bajpai244/workshopfilehosting/master/hackide/hackclublogo.png"
      width="60px"
    />
  </div>
  <div id="buttoncontainer">
    <button onclick="buttonclick()"><b>RUN</b></button>
  </div>
</header>
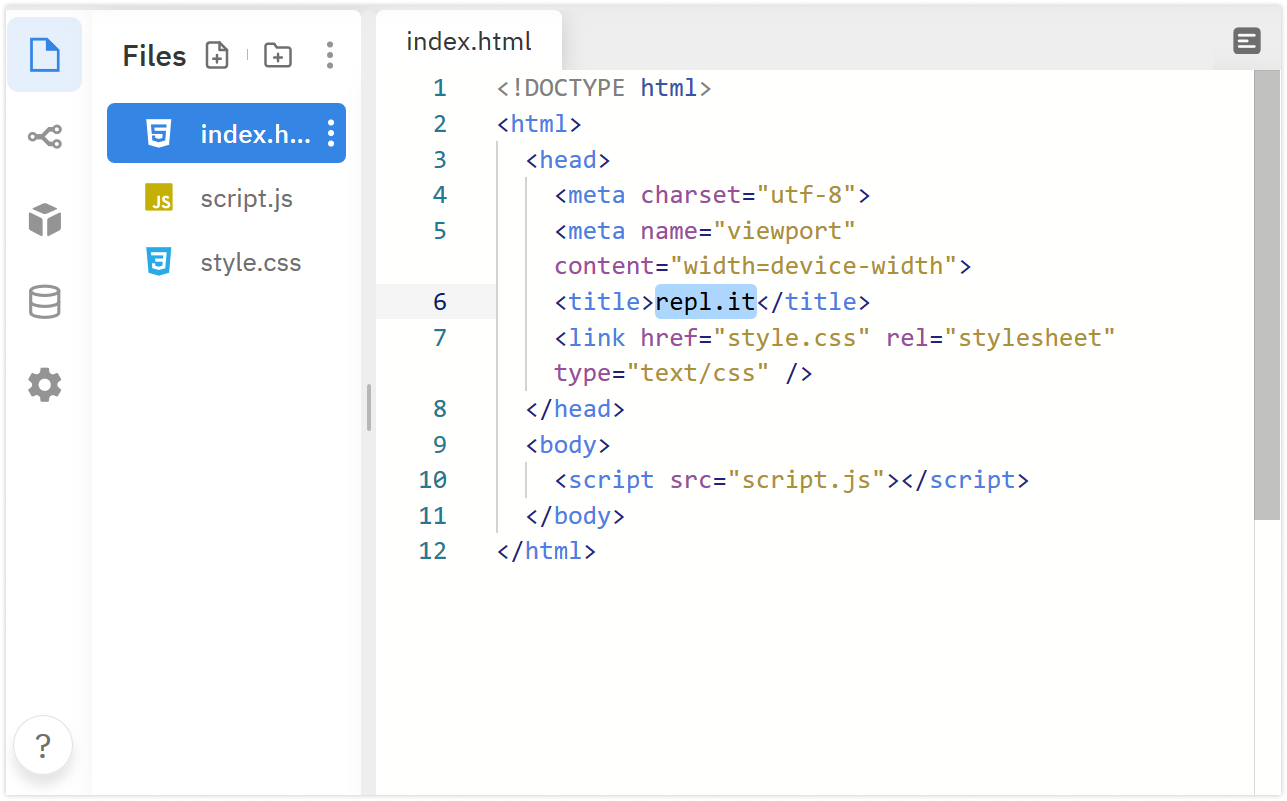
After Adding it your code it will look like this:
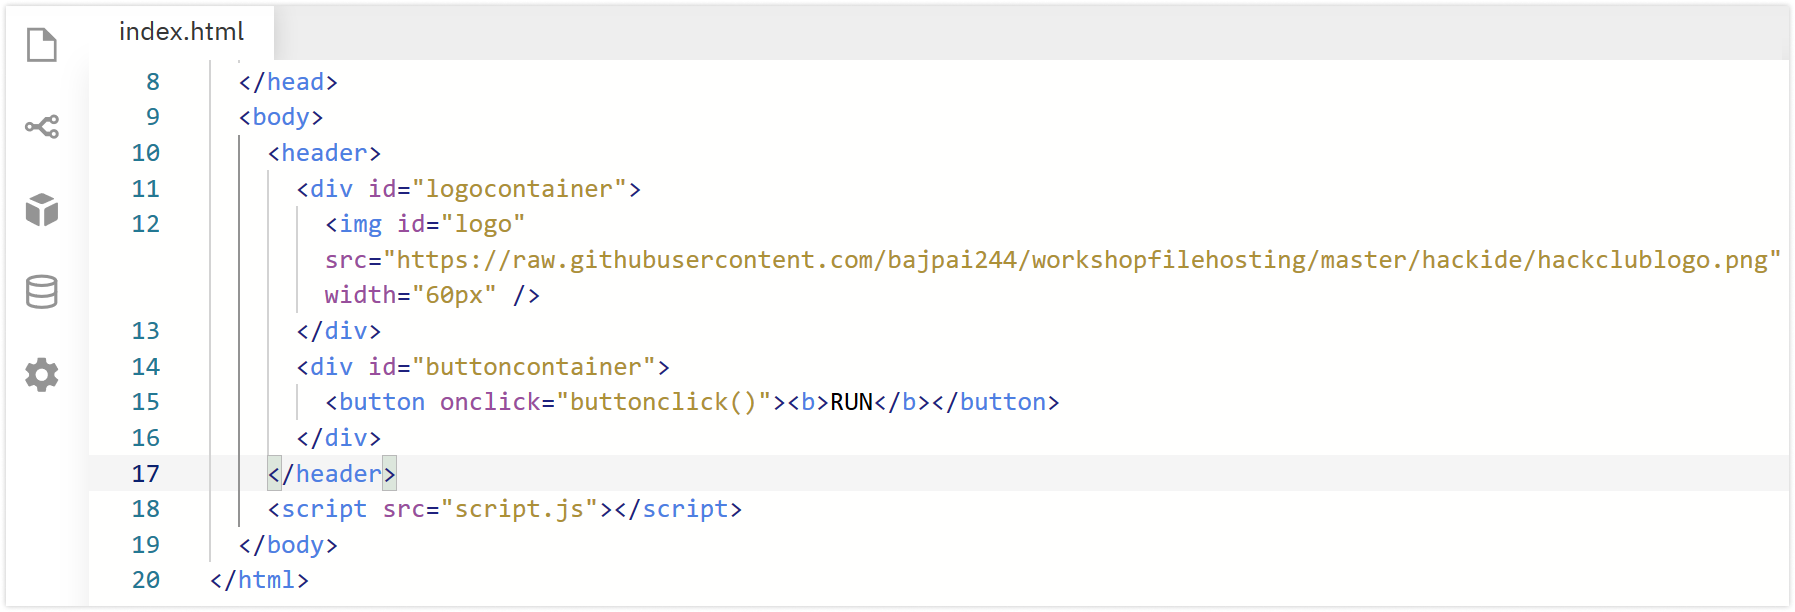
The explanation of the above code is as follows:
- <header> tag is declared to define our header in HTML.
- <img > tag is created which will be used as our logo. It has a parent <div> tag which will be used to vertically align it to the center (we will do it in the CSS part).
- <button> tag is created which will be used to run our code when we will click on it. It has a parent <div> which will be used for its layout. Its width is set to 70px in width attribute.
- <button> has an onclick attribute equal to buttonclick() which will run our Javascript code when the button will be clicked (we will define buttonclick() in a later section of this workshop).
Need for styling
We have just created a structure for our header. To manage its layout and styling, it is time to move to CSS.
Working with style.css
Open style.css, we will use it to style our HTML. It is already linked with the index.html file. Now add the following CSS in your style.css file.
html,
body {
  width: 100%;
  height: 100%;
  margin: 0;
}

body {
  display: flex;
  flex-direction: column;
}

header {
  height: 70px;
  background-color: white;
  display: flex;
}
-
Here we are making html and body to acquire the full space of the display.
-
body display is made flex with flex-direction column so that we can have a vertical flex layout ( why we did that will be more clear as we proceed. ).
-
header is given a fixed height of 70px. Its display is flex, we will use some properties of Flexbox to develop our header.
Styling header elements
Now it is the time that we start styling the elements of our header which are the logo and the button.
Append the following code in your style.css file.
#logocontainer {
  display: flex;
  flex-direction: column;
  justify-content: center;
  padding-left: 16px;
}

#buttoncontainer {
  flex: 1;
  display: flex;
  flex-direction: row-reverse;
  align-items: center;
  padding-right: 30px;
}

button {
  padding-top: 16px;
  padding-bottom: 16px;
  padding-left: 40px;
  padding-right: 40px;
  border-radius: 8px;
  background-color: #ec3750;
  color: white;
  cursor: pointer;
}
-
We made #logocontainer ( parent <div> of our <img> ) a flex container so that we can vertically align our image to the center.
-
We made #buttoncontainer (parent <div> of our <button>) a flex container so that we can align our button to the right of the header and align it vertically to the center.
-
flex:1 allocates all the left over space in header to #buttoncontainer (parent <div> of our <button>).
-
button styling is nothing special, you can style the button the way you want or use my styling!
Run
Now click the run button to run your website.

After running this you will see a header section like this 👇 on the top of your page.
Creating The Editor
Now it is the time that we make the code editor and the display section of our IDE.
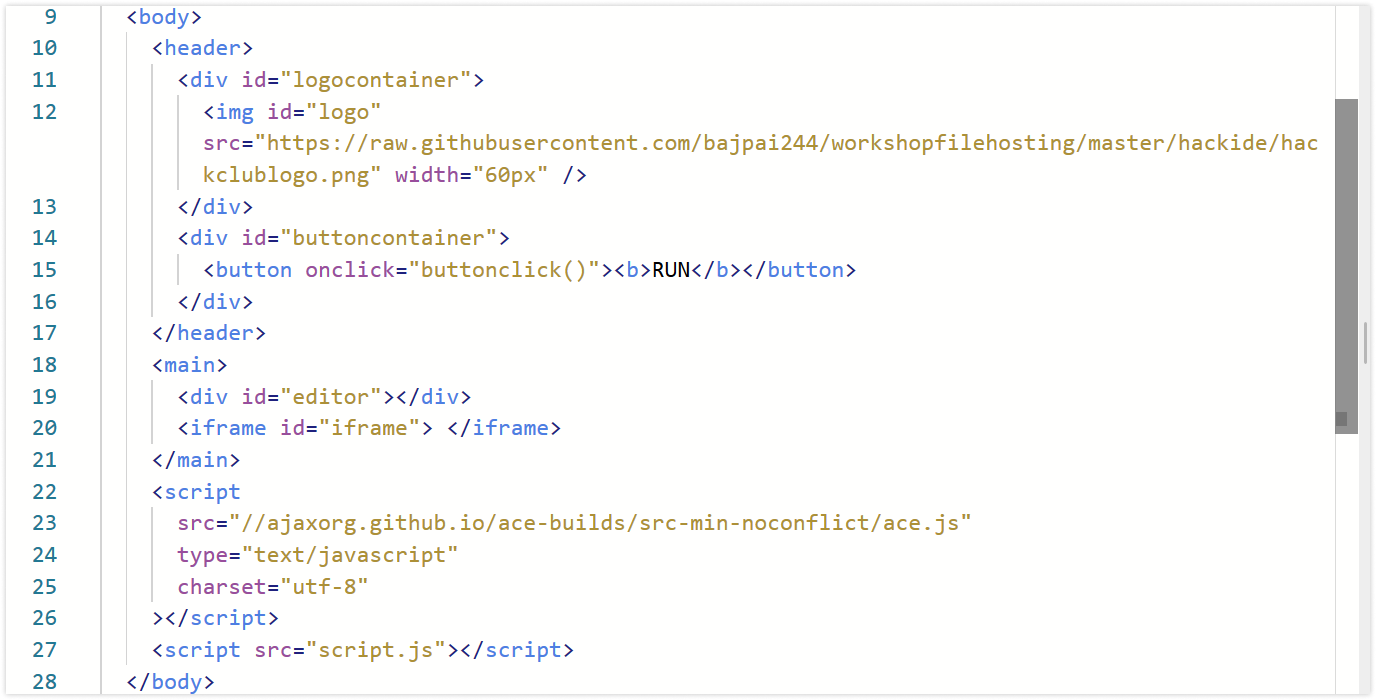
Adding HTML
We need to add the HTML for our code editor and output section. Append the following HTML between your <body> tags ( inside index.html file ).
Add this code before the <script src="script.js" > tag in <body> and after the already existing <header> tag.
<main>
  <div id="editor"></div>
  <iframe src="" id="iframe"> </iframe>
</main>
<script
  src="//ajaxorg.github.io/ace-builds/src-min-noconflict/ace.js"
  type="text/javascript"
  charset="utf-8"
></script>
Here we have done the following:
- created <main> tag to store both our editor and iframe.
- <div> will be used as our code editor ( we will style it later)
- <iframe> will be used by us to display our HTML code written in the code editor.
- We added a <script> tag, it will allow us to use Ace editor in our website and will provide our code editor some really cool functionalities.
after adding the code your <body> tag will look like this:-
Styling the Editor
Now it is time to style the HTML structure we just added. Open your style.css file and append the following CSS.
main {
  display: flex;
  flex: 1;
  position: relative;
}

iframe {
  flex: 1;
}

#editor {
  flex: 1;
}
Here we have done the following:
-
main has flex:1 which will allow it to stretch and occupy all the remaining vertical space in the body.
-
main is also a flex container so that we can have an equal horizontal division between the editor div and the iframe.
-
iframe and #editor are given flex:1 so that they can occupy equal space in the main flex container.
Working with Javascript
Now, we will use Javascript to configure our editor.
Add the following js code to your script.js file.
var url = null

const editor = ace.edit('editor')
editor.setTheme('ace/theme/dracula')
editor.getSession().setMode('ace/mode/html')
-
variable url will be used by us to store the URL string. (its use will become more clear in later sections)
-
remember we added <script> tag when we created our <main> tag. We added a CDN link to the Ace editor. It gave us access to a variable named ace.
-
ace.editor() method takes the HTML id of the element we want to make a code editor as an argument, in our case id is editor.
-
editor.setTheme('ace/theme/dracula') is setting the theme of the editor to dracula. The Ace editor has support for multiple themes and dracula is one of them.
-
editor.getSession().setMode('ace/mode/html') is setting the editor mode to html. It will autoclose our HTML tags when we will type in the code editor!
Run
Now run your html file to see what you have made!
Try typing some HTML <tags> and you will notice that the editor now supports the autoclosing of tags!
Creating Blob files and URLs
-
Whatever code we type in our code editor we will create an HTML Blob object for it.
-
The Blob object represents a blob, which is a file-like object of immutable, raw data; it can be read as text or binary data.
-
In our case, you can think of it as a representation of our HTML file, which would have been generated from the code that we wrote in our code editor.
-
We can create local URLs of the Blob Objects via URL.createObjectURL(blob) method where blob is any Blob object.
Add the following code to you script.js file:
function createUrl(html) {
  var blob = new Blob([html], { type: 'text/html' })
  return URL.createObjectURL(blob)
}

function removeUrl(url) {
  URL.revokeObjectURL(url)
}
Here we have done the following:
-
createUrl(html) function will take an HTML Blob type object as an argument and will return an Object URL of it ( The use of this will be clear in next section).
-
removeUrl(url) function takes a URL generated by createUrl(html) as an argument and deletes it so that we can free up space which was acquired by that URL. We are using URL.revokeObjectURL() for this purpose!
Using the URLs!
Now we are going to use this URL.
Add the following code to your script.js file:
function getIframe() {
  var iframe = document.getElementById('iframe')
  return iframe
}

function setIframeUrl(url) {
  var iframe = getIframe()
  iframe.src = url
}

function getEditorCode() {
  return editor.getValue()
}

function buttonclick() {
  var code = getEditorCode()
  removeUrl(url)
  url = createUrl(code)
  setIframeUrl(url)
}
Here we have done the following:
-
getIframe() will return our iframe object from the Document Object Model.
-
setIframeUrl(url) will take a URL as an argument and will set iframe's src attribute to this URL. iframes show the content via their src attribute. It uses getIframe() function in it to fetch the iframe object.
-
getEditorCode() will return the code of our editor. We have access to editor.getValue() function of our editor global variable which return the code of our editor.
buttonclick() function
Now, let's talk about buttonclick() function. It will be called when our RUN button is clicked.
-
It first stores our code in the code variable. Then it removes the existing URL in the system via removeUrl() function.
-
Remember the url variable we created initially, it will be used to store the current URL in the system.
-
It will create a new URL via createUrl() function and will store it in url variable.
-
setIframeUrl() will be used to assign this URL to our iframe's src attribute.
Magic Time!
Congratulations you have completed this workshop. Now run the code and do the following:
- Type some HTML in your editor section.
- Click the RUN button.

See whatever HTML you create you can see it parallelly in your iframe.
Next Steps!
I know it feels awesome to make it but don't stop here, Create whatever you can from this crazy trick and share it with us in the #ship channel of Hack Club's Slack.
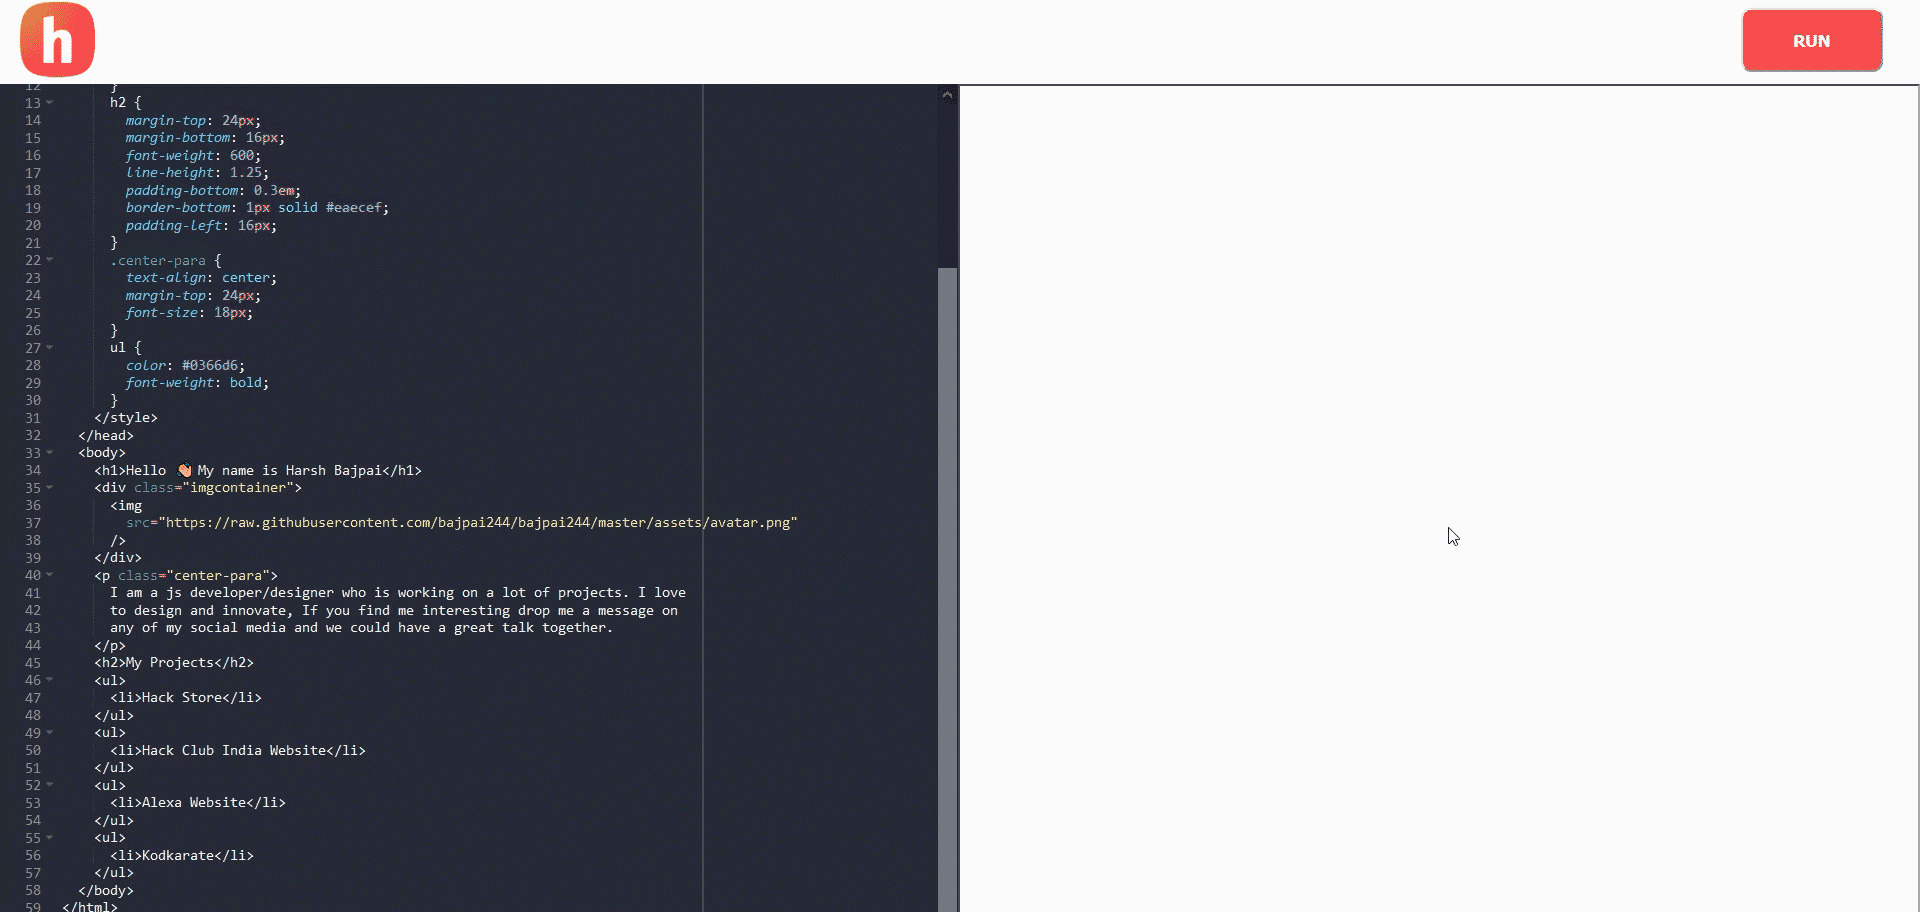
Here is a project which I made ( using this trick ):
Kodkarate
KodKarate is an open source IDE powered by Judge Api with support for 21 programming languages and the editor can be used in 17 themes.
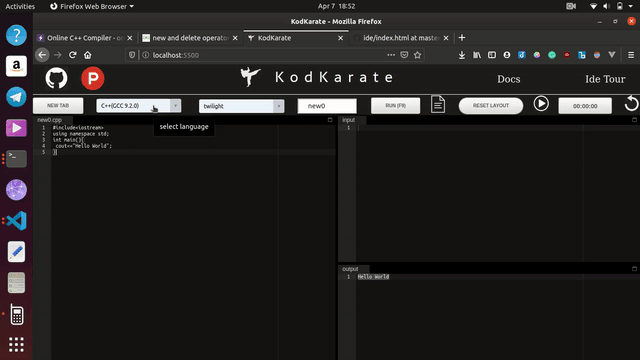
Visit: https://www.kodkarate.in/
Github: https://github.com/bajpai244/Kodkarate
If you have any doubts or queries regarding this workshop then reach out to me on Hack Club's Slack My username is Harsh Bajpai!